
Last updated November 16, 2026
 Sweep & inspection
 Caps & crowns
 Flue relining
 Masonry repair
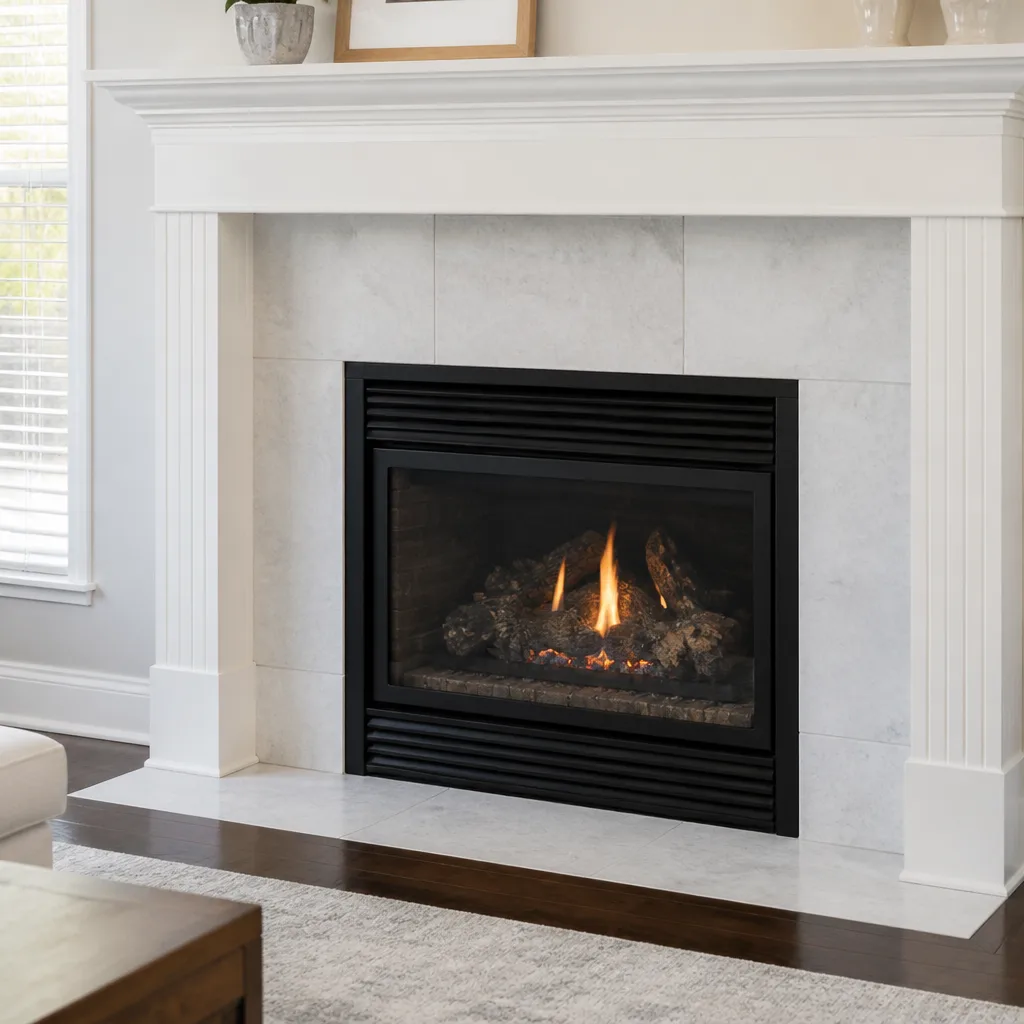 Gas fireplace service
Level 1 sweep and inspection to the NFPA 211 annual standard - flue, crown, cap, and flashing checked and photographed
Chimney sweep logs do not sweep chimneys. They loosen some creosote - which then falls where a brush and vacuum still have to collect it.
Chimney Sweep Maintenance Checklist for Elgin Homeowners
The word “inspect” shows up in nearly every chimney maintenance checklist you’ll find online, and almost none of them tell you what you’re actually looking for. Check the firebox for damage. Check the flue for creosote. Check the crown for cracks. What does damage look like? How much creosote is too much? Where exactly does a crown crack start, and how do you tell a harmless hairline from a breach that’s letting water into the masonry? Without answers to those questions, a checklist is just a list of nouns. This guide fixes that. We break your chimney down component by component – firebox, damper, smoke shelf, smoke chamber, flue liner, crown and cap – and give you the exact failure signs for each one, plus a realistic service interval table that accounts for what you actually burn. By the end, you’ll know what a sweep is likely to find in an Elgin chimney before anyone arrives.
Quick Answer
A chimney maintenance checklist for an Elgin home should cover seven components: firebox, damper, smoke shelf, smoke chamber, flue liner, crown and cap. You check each one for specific, observable failure signs – not vague “damage” – and you match your service interval to your fuel type: wood-burning fireplaces generally need annual sweeping, gas fireplaces need inspection every year or two, pellet inserts need sweeping based on ash volume, and oil furnace flues need annual inspection because soot and scale behave differently from wood creosote. Elgin’s hard freeze-and-thaw winters make the crown and exterior masonry the highest-priority visual check of all.
Styles & brands we work with
- Sweep & inspection
- Caps & crowns
- Flue relining
- Masonry repair
- Gas fireplace service
Table of Contents
- The Seven Components: What Each One Should Look Like
- Stage-One vs. Stage-Two Creosote: Reading the Flue Without Touching It
- The Crown and Elgin’s Frost Cycle
- Flue Liner Cracks: When HeatShield or DuraFlex Is the Right Answer
- Realistic Service Intervals by Fuel Type
- A Season-by-Season Elgin Maintenance Calendar
- What to Keep in Your Chimney Records
The Seven Components: What Each One Should Look Like
Your chimney is not one object. It’s a stack of components doing different jobs, and each one fails in its own way. Learn what normal looks like for each, and the abnormal becomes obvious.
1. Firebox
The firebox is where you have the best view without tools. In a masonry firebox, the brick should be tight, the mortar joints full and intact, and the firebrick panels free of cracks wider than a hairline. Rust-colored stains on the firebrick, crumbling mortar between courses, or brick faces that flake when you brush them are signs of water intrusion or excessive heat. In a prefabricated metal firebox, look for warped or buckled panels, cracked refractory brick, and white chalky deposits. Any gap in the firebox is a path for heat to reach framing.
2. Damper
Open and close the damper fully. It should move without grinding and seat flush when closed. A damper that hangs open, sticks halfway, or has a visible gap when shut is wasting heat up the flue and letting cold air down. Rust on the damper frame points to moisture, which usually traces back to the crown or cap.
3. Smoke Shelf
The smoke shelf sits behind the damper, a horizontal ledge that turns smoke back up into the flue. It’s also a debris trap. Shine a light up and back: if you see a ridge of soot, leaves, or bits of mortar collecting there, that debris is restricting draft and needs clearing during a sweep.
4. Smoke Chamber
Above the shelf, the walls slope inward to the flue. Correctly built, those walls are smooth and parged. Rough, corbeled brick with exposed ledges creates turbulence and gives creosote a place to cling. Look for heavy soot on the sloping walls and any visible gaps between the chamber and the flue collar.
5. Flue Liner
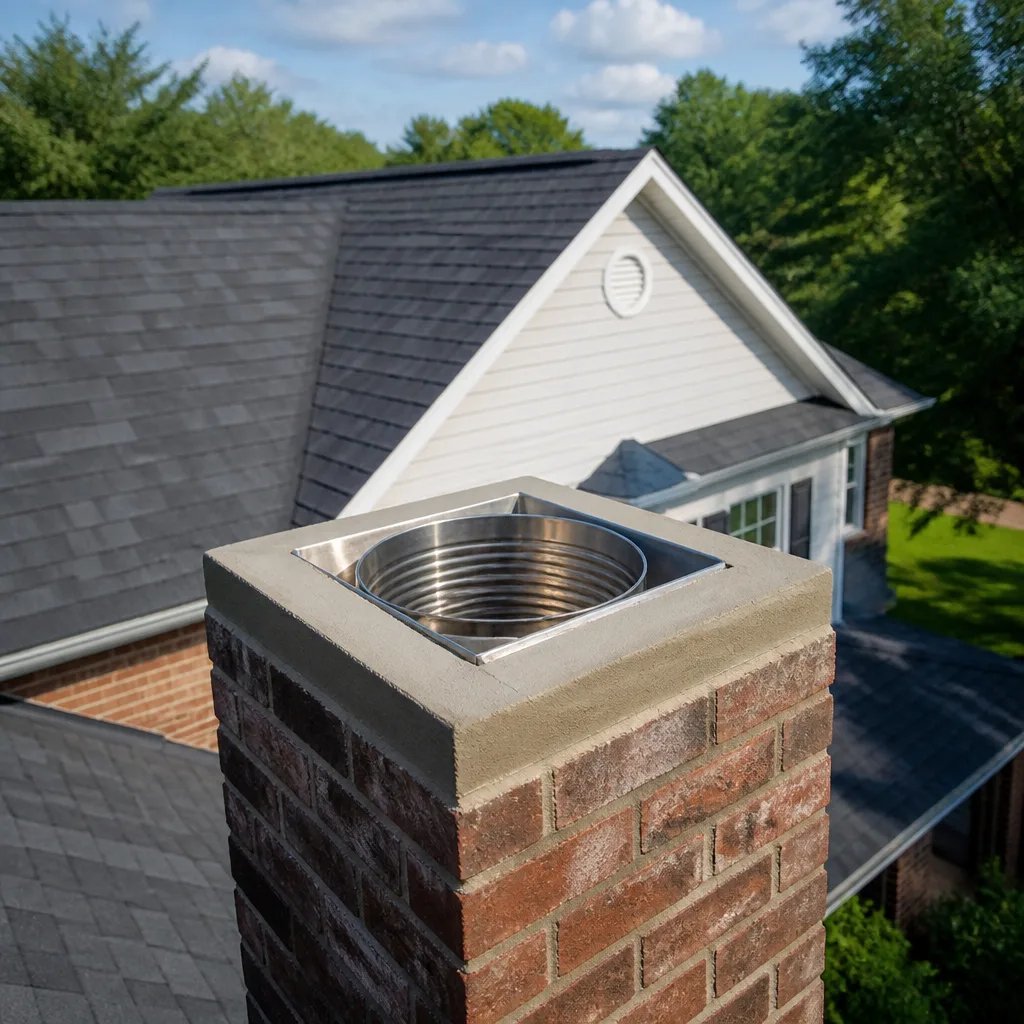
The liner is the flue’s actual containment surface. You won’t see all of it from the firebox, but you can see the first few feet. Clay tile liners should show tight joints without missing mortar. Any gap between tiles, a displaced tile, or a visible crack is a containment problem, not a cosmetic one. Metal liners should be continuous, without kinks, rust-through, or separated seams. The full liner gets checked by camera during a professional inspection.
6. Crown
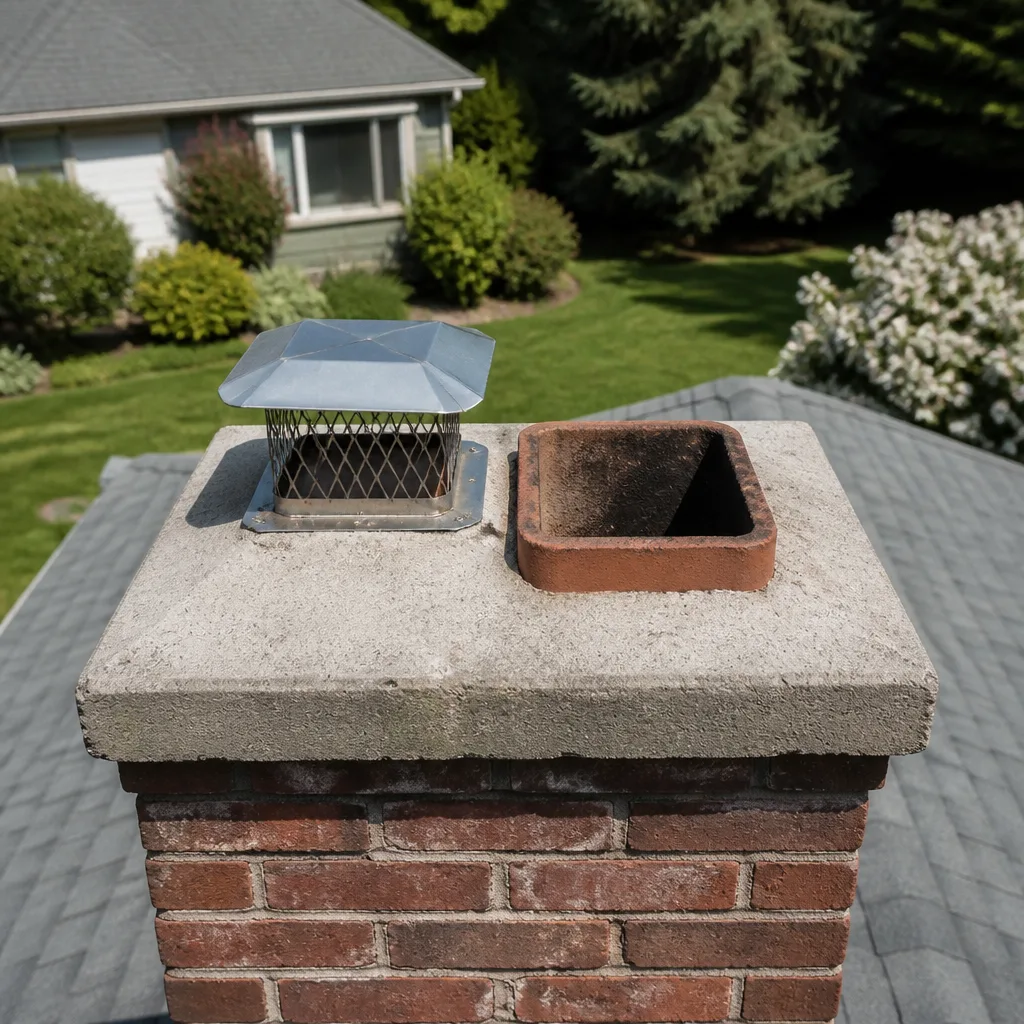
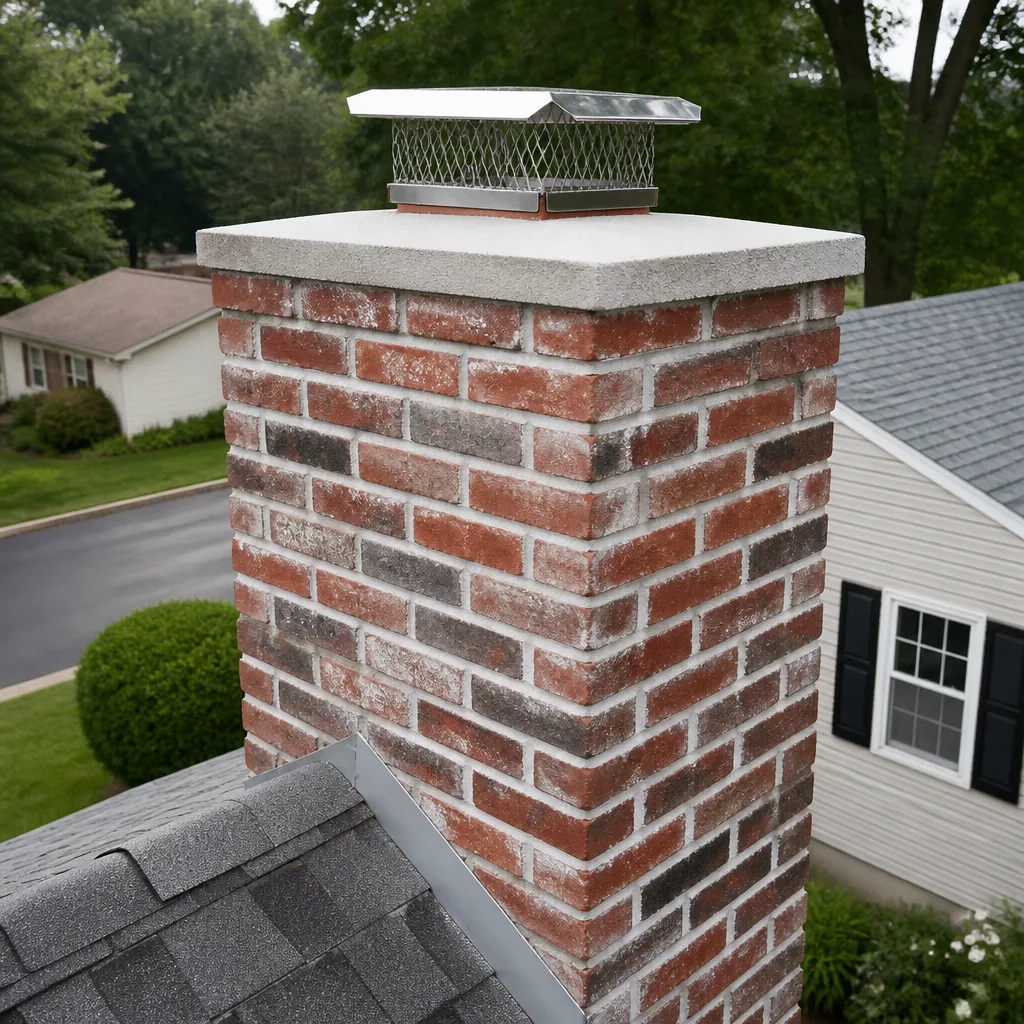
The crown is the concrete cap on top of the masonry that sheds water away from the flue. It should slope gently away from the flue on all sides and overhang the edges of the chimney. A flat crown, a crown with a crack you can catch a fingernail in, or one with vegetation growing out of the joint between crown and flue are all water-entry points. More on this below, because in Elgin the crown is the component that matters most.
7. Cap
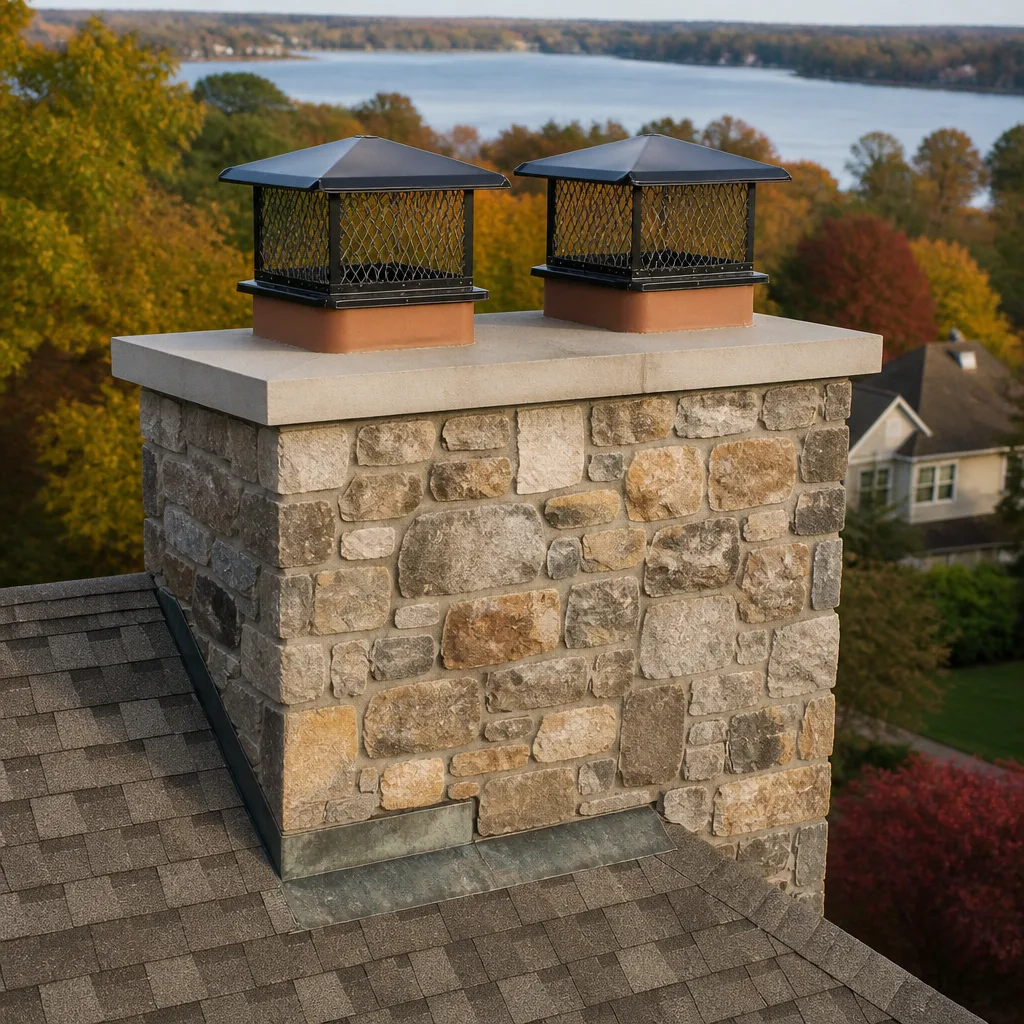
The cap is the cover over the flue opening. It should be intact, properly sized, and screened if you’re keeping animals and sparks out. Rusted-through caps, missing screens, and caps that have shifted off-center all allow rain, birds, and squirrels in. Galeo and Famco chimney caps are what we install when a cap has reached the end of its life.
If you’d like a trained set of eyes on all seven at once, a professional chimney sweep includes a visual check of each component as part of the service.
Stage-One vs. Stage-Two Creosote: Reading the Flue Without Touching It
Creosote is the residue of incomplete combustion, and it comes in stages. You can identify the first two from the firebox with a flashlight and a mirror on a handle – no ladders, no reaching up the flue. This is the one check most homeowners can do safely between professional visits.
- Set up your light. Use a bright flashlight and a small mirror angled upward, positioned at the damper opening. You want to see the lower flue walls in reflection.
- Look for stage one. Stage-one creosote looks like fine, dry soot – gray to black, powdery, and it brushes off easily. It’s the normal deposit from a season of burning. A light dusting of stage-one is not a crisis, but a thick, even coating signals your burning habits are producing more than usual.
- Look for stage two. Stage-two creosote is darker, flaky, and crusty – it looks like curled black tissue or brittle shards clinging to the flue wall. It doesn’t brush free easily. This is the stage that matters, because it’s denser, more voluminous, and the stage that ignites.
- Note the location. Creosote builds heaviest in the cooler upper flue and around any offset. If your mirror shows heavy flaking within the first few feet, assume it’s worse higher up.
- Stop at the damper. Don’t reach up the flue, don’t try to scrape, and don’t put any tool into the liner. You’re reading the flue, not cleaning it.
If you see stage-two flaking, that’s your cue to book a sweep rather than wait for the season to end. If you see what looks like a shiny, hardened, tar-like glaze, that’s stage three – the hardest to remove – and it needs a professional sweep with proper tools, not a homeowner attempt.
One more note: how you burn shapes how fast creosote forms. Unseasoned, damp wood and smoldering, low-air fires both produce far more creosote than dry wood burned hot. The flue tells you how you’ve been burning.
The Crown and Elgin’s Frost Cycle
In Elgin, the crown is where a chimney’s water problems usually begin. Our frost cycle is the reason. Water soaks into the crown concrete or into the mortar joint where the crown meets the flue, then freezes overnight and expands. The expansion widens any existing hairline. It thaws, water penetrates deeper, refreezes, and the crack grows. A few winters of that turns a hairline into a breach.
Here’s how to tell where you are:
- A healthy crown: slopes away from the flue on every side, overhangs the masonry edges slightly, and the joint between crown and flue is sealed and watertight.
- A hairline: a crack you can see but not catch a fingernail in. It’s still a warning, because freeze-thaw will enlarge it, and it should be sealed before the next winter.
- A working crack: you can catch a fingernail in it, it has visible width, or you can see daylight through it. Water is already getting in.
- A failed crown: pieces spalling off, a crown that’s flat or slopes toward the flue, or a crack with vegetation growing from it. The masonry beneath is now absorbing water.
Once water gets behind the crown, it travels down through the brick and mortar, and it shows up indoors as efflorescence (the white chalky staining on brick), rust streaks, damp patches on the chimney breast, or mortar crumbling out of the exterior joints. Any of those is a sign the crown check has already become a repair.
Crown repair is one of the three core services we handle, alongside sweeping and inspection. If you’re seeing any of those indoor signs, chimney repair is the correct next step, not another sweep.
Flue Liner Cracks: When HeatShield or DuraFlex Is the Right Answer
A cracked or gapped flue liner is the finding that changes a sweep into a repair. The liner’s job is to contain combustion products and keep heat away from the surrounding masonry and framing. When it’s compromised, that containment is gone. If a professional inspection finds a liner defect, you should expect one of two repair paths, and you should recognize both by name so you know what’s being proposed and why.
HeatShield: Restoration, Not Replacement
HeatShield is a professional-grade chimney liner restoration system. It’s applied to the interior of a damaged clay liner to seal cracks, gaps, and spalled joints without removing the existing tile. For a liner that’s cracked or gapped but structurally sound, this is often the correct repair – it restores containment and is a genuine alternative to tearing out and replacing the liner. HeatShield is a trade product; you won’t find it on a hardware store shelf.
DuraFlex and Olympia Chimney: Full Relining
When the existing liner is too far gone – badly displaced tiles, severe spalling, or a flue that was never properly lined – the answer is a new liner. DuraFlex and Olympia Chimney systems are flexible stainless liner products designed for this work, and they’re what we install. Relining is a repair tier most sweep-only services can’t provide, which is why homeowners sometimes get told they need a second contractor. With us, the inspection findings, the repair decision, and the installation happen under one company.
There’s no honest way to decide between HeatShield and a new liner from the ground. It’s a camera decision made by a technician who can see the full length of the flue. Anyone who quotes you a liner replacement without camera evidence is guessing, and you should ask to see the video.
Our technicians have up to 11 years of experience evaluating exactly this kind of finding, and every recommendation we make is backed by images you can look at yourself.
Realistic Service Intervals by Fuel Type
“Get your chimney swept annually” is the advice you’ll see everywhere, and it’s not wrong – but it’s incomplete. What a chimney needs depends on what you burn. Here’s a more honest table, based on what each fuel type produces and how it fouls a flue.
- Wood-burning fireplace or wood stove: Sweep annually if you burn regularly, and more often – twice a season in some cases – if you burn heavily, burn unseasoned wood, or see stage-two creosote during your checks. This is the fuel type with the real creosote risk and the real fire risk.
- Gas fireplace or gas log set: No creosote, but gas appliances still produce moisture and can produce corrosive condensate. Inspect every one to two years, and annually if the fireplace is vented through a liner that shares a path with anything else. A gas flue can fail quietly, so the inspection matters more than the sweep.
- Pellet insert or pellet stove: Ash volume drives this one, not creosote. Sweep based on how many tons you burn and how much fly ash collects in the flue and vent – typically once a season for regular users, with the vent and termination checked for ash blockage each time. A clogged pellet vent is a carbon monoxide concern.
- Oil furnace flue: Inspect annually. Oil produces soot and scale that behave differently from wood creosote, and an oil flue that’s sooted up restricts draft and can back combustion gases into the home. This is a safety inspection even when the flue looks clean from below.
Two rules sit above the table. First, any chimney that has had a chimney fire needs inspection before it’s used again, regardless of when it was last swept. Second, any chimney with a new appliance, a changed fuel type, or a recent repair should be inspected before the next heating season. And whichever fuel you burn, an annual visual inspection is cheap insurance against discovering a problem in January.
A Season-by-Season Elgin Maintenance Calendar
A checklist is easiest to follow when it’s spread across the year instead of crammed into one weekend. Here’s how we’d map it for an Elgin home. Nothing here is emergency work – it’s the routine cadence that keeps a chimney from becoming a project.
- Early fall (before the first fire): Book your sweep and inspection. Do the firebox, damper, and smoke shelf checks yourself with a flashlight, and check the cap and crown from the ground with binoculars. This is the single most important slot on the calendar – getting the flue checked before the burning season starts.
- Late fall (during burning season): Do a homeowner creosote check at the damper every few weeks. Note how the fire burns – smoky, lazy fires and visible smoke from the chimney top mean incomplete combustion and faster creosote buildup.
- Midwinter: Watch for the indoor signs of water entry – efflorescence, rust streaks, damp patches on the chimney breast. These show up most in freeze-thaw conditions. If you see them, call rather than wait for spring.
- Early spring (after the last fire): Do a post-season crown and cap inspection from the ground. Winter is when hairline cracks become working cracks. This is also the right time to schedule any crown sealing or masonry work, so it’s done before the next frost cycle.
- Summer: This is repair season. Any liner, crown, or cap work identified in the spring inspection can be completed now, in dry weather, without competing with heating-season demand. It’s also the best time to get a camera inspection done if you haven’t had one.
Fire safety professionals recommend having chimneys inspected annually, and for good reason: the failure modes we’ve described here are almost always visible before they become dangerous. The calendar exists so you see them early.
What to Keep in Your Chimney Records
A chimney with a paper trail is easier and cheaper to maintain. Keep a simple folder – physical or digital – with the following for each service visit:
- The date and what was done (sweep, inspection, repair).
- The camera inspection report and photos, if the inspection included a camera. Ask for the images; a good technician documents what they find.
- The material names and brands used in any repair – HeatShield, DuraFlex, Olympia Chimney, Gelco, Famco, Copperfield. Brand names on a repair record let a future technician know exactly what’s in your flue.
- Any written estimate, so you can compare findings year over year.
When you move or sell, this folder is also the answer to the buyer’s question about the chimney, and it’s evidence that maintenance was done rather than deferred. Traceable, warranted materials from named brands exist so the work can be verified later – keeping the records completes that chain.
One company handles the sweep, the inspection, and the repair, which means the record stays in one place. There’s no handoff gap where the findings from an inspection get lost between a sweep contractor and a repair contractor.
Common Mistakes to Avoid
- Treating “annual sweep” as a fixed rule for every home. A gas fireplace and a heavily used wood stove have almost nothing in common in maintenance terms. Match your interval to your fuel and your burning volume, not to a generic calendar.
- Skipping the crown and cap because they’re out of sight. In Elgin’s freeze-thaw climate, the crown is the highest-leverage component to check, and it’s the one most homeowners never look at. Binoculars from the yard cost nothing.
- Scraping creosote yourself. A homeowner can look at the flue; cleaning it is a different matter. Brushing and scraping stir up soot and creosote in an enclosed space, and a partial cleaning can leave a dangerous deposit behind. Don’t do it.
- Accepting a liner replacement without seeing the evidence. If the recommendation is a new liner, ask for the camera footage. You should be able to see the crack or gap for yourself before you decide.
- Using a generic handyman for chimney repair. Liner work requires trade-grade materials and specific product knowledge. A handyman who can patch a brick wall may not know the difference between HeatShield restoration and a DuraFlex reline – and the choice matters.
- Burnng unseasoned wood to save money. Wet wood produces far more creosote and more chimney fires. Drying wood properly is maintenance, even though it happens in the woodpile.
- Ignoring the ash and vent on a pellet insert. Pellet flues clog with ash rather than creosote, and a blocked vent is a carbon monoxide path. Check the termination and the vent run each season.
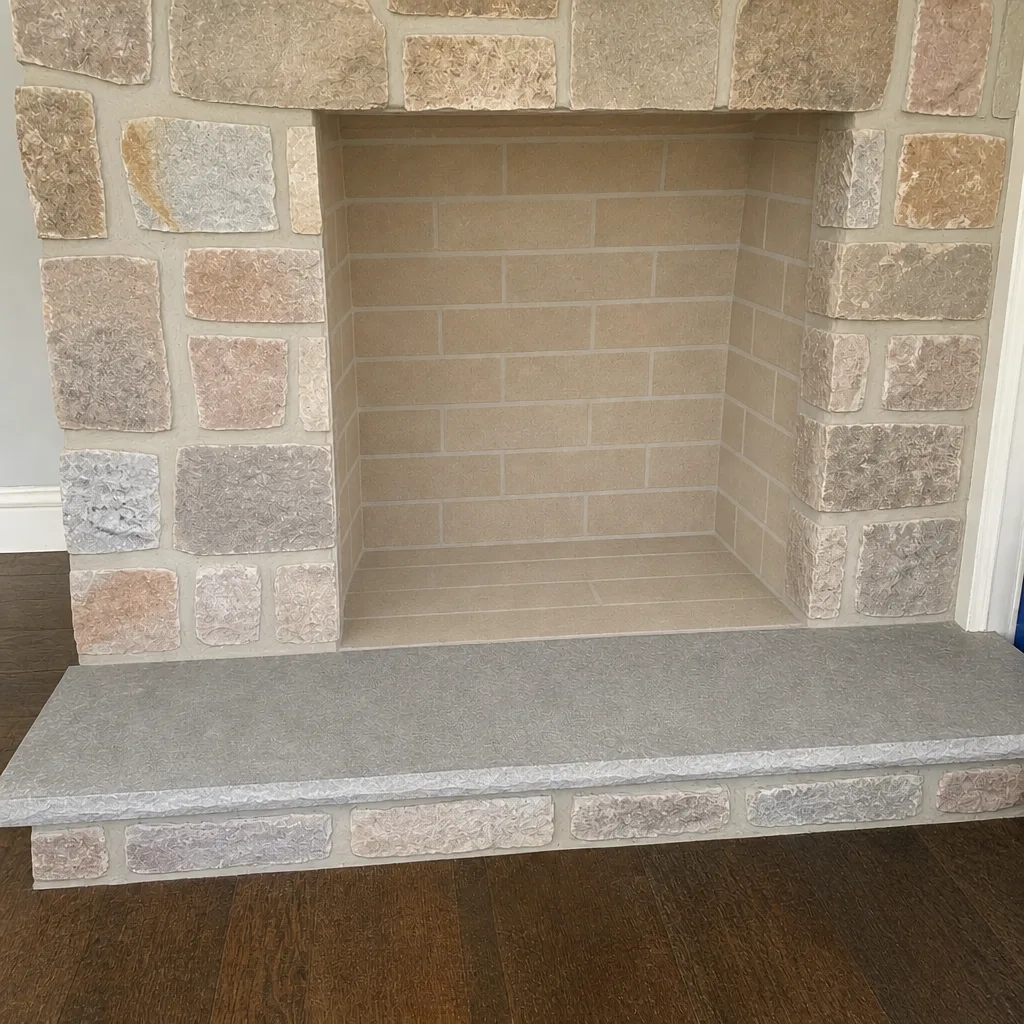
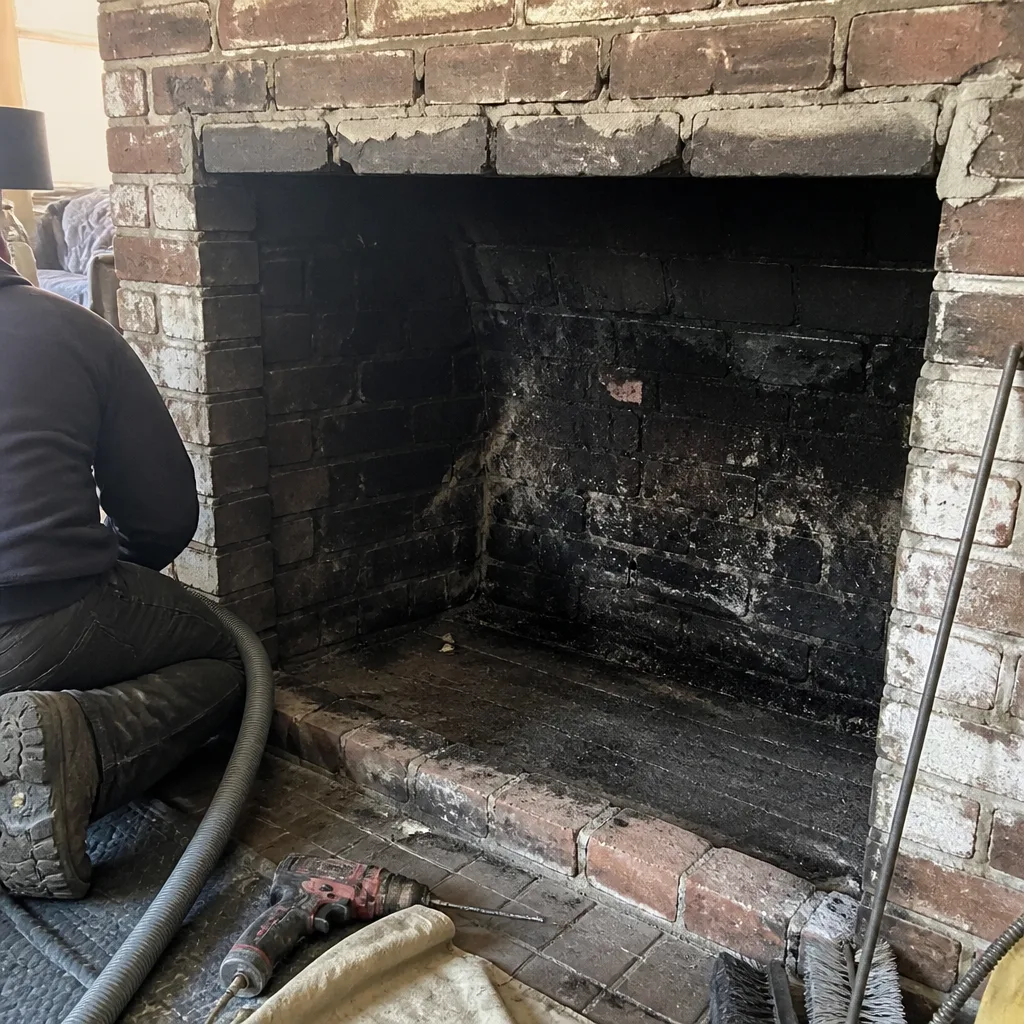
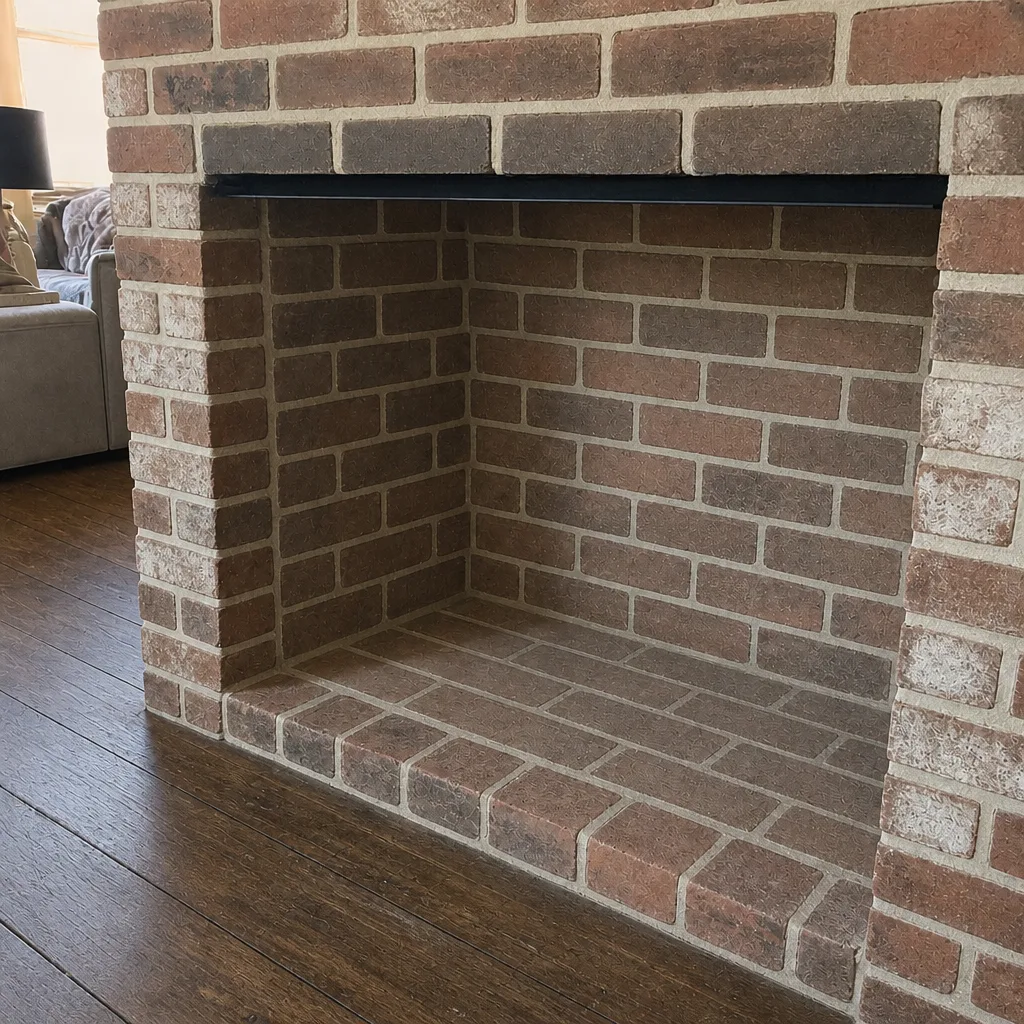
See the difference
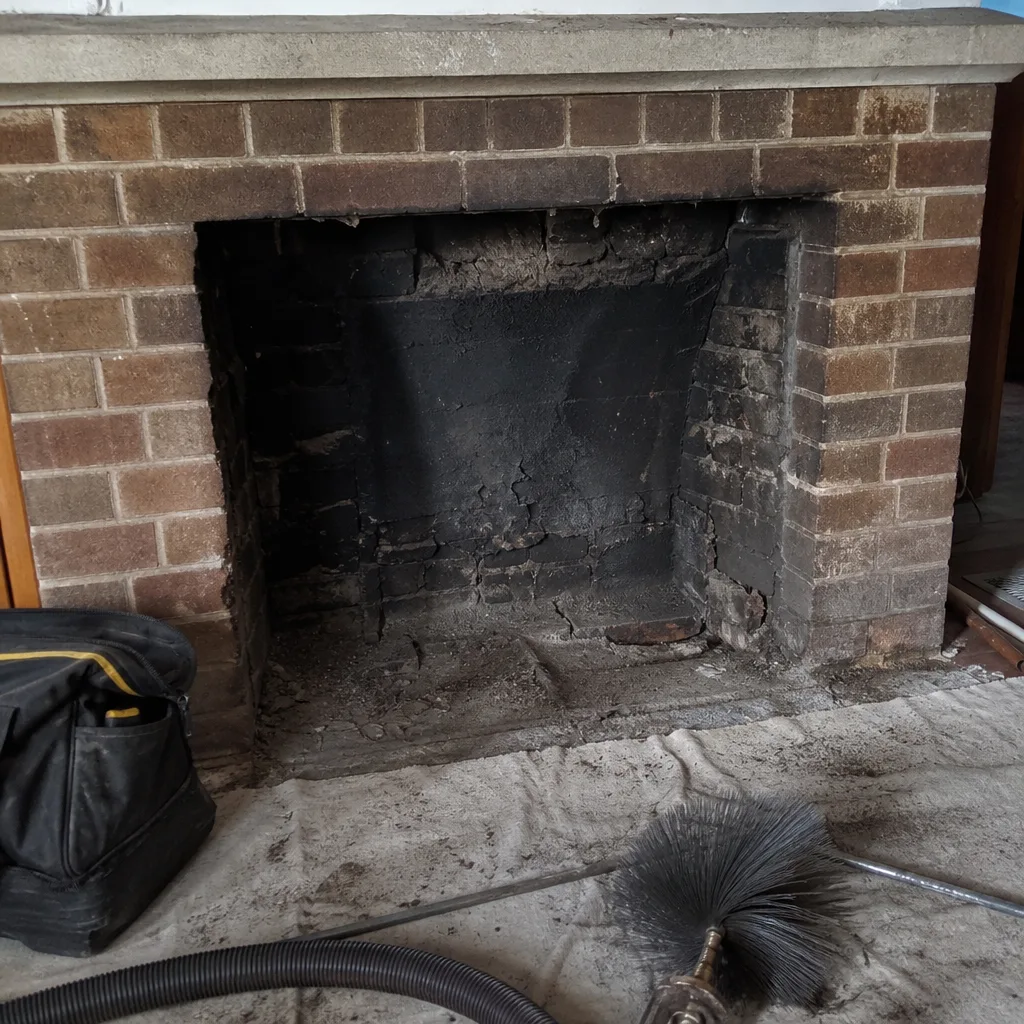 Before
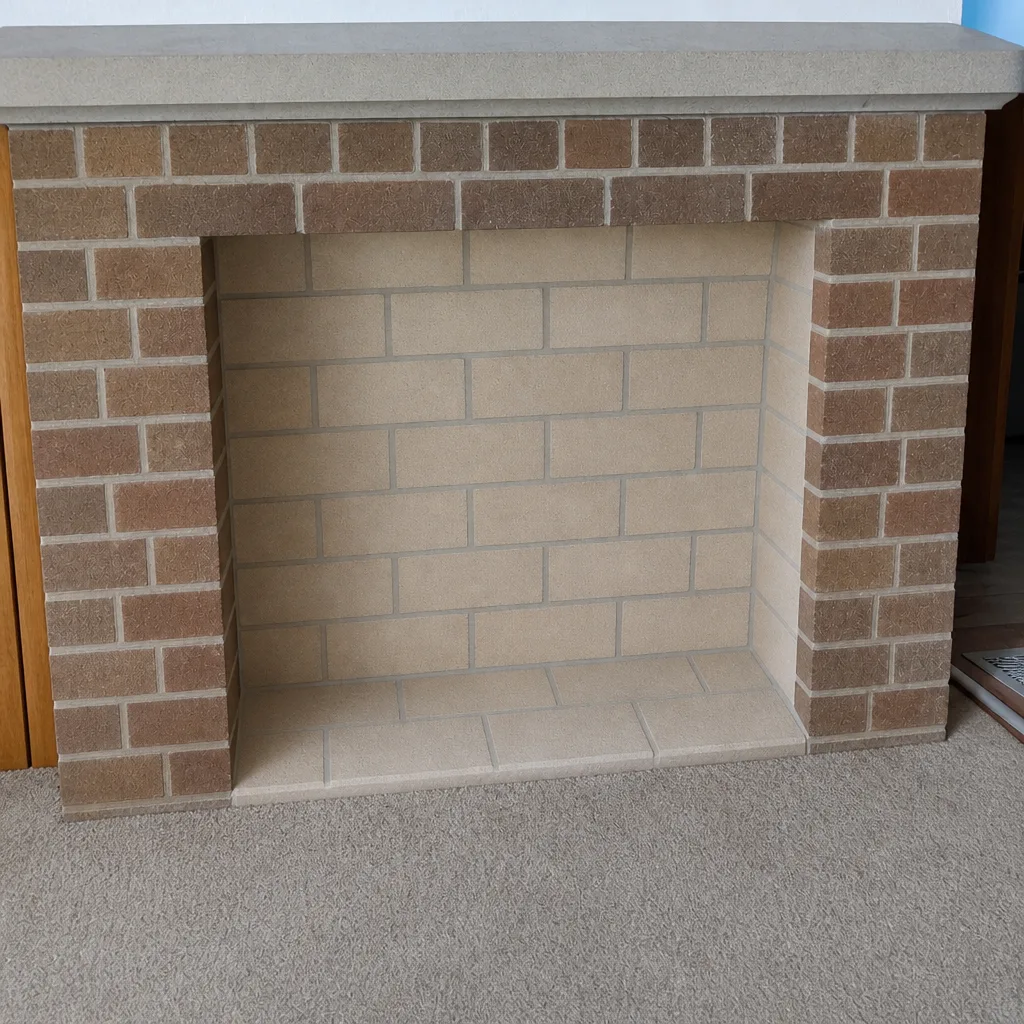 After
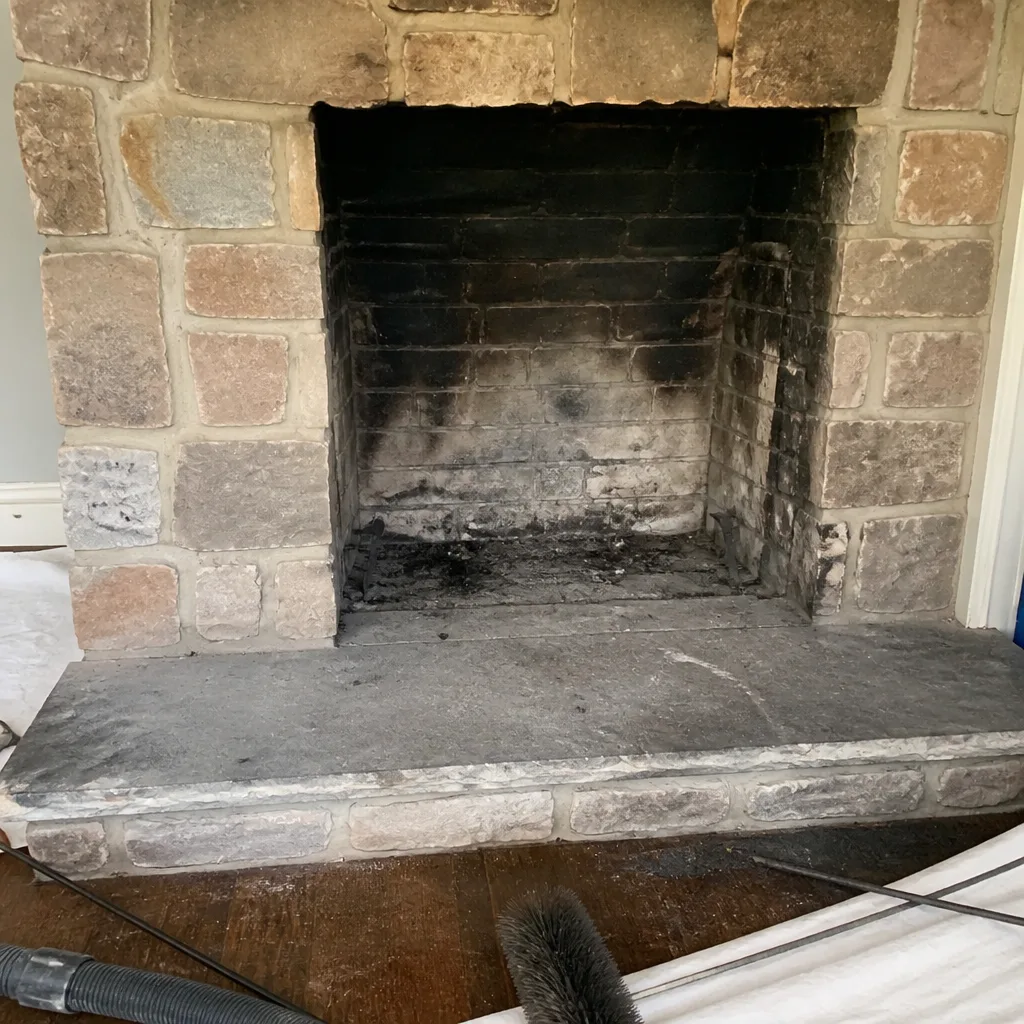 Before
 After
 Before
 After
When to Call a Professional
Some of this checklist is yours to do; some of it shouldn’t be. Call a professional if you see stage-two or stage-three creosote in your flashlight check, if you find a crack you can catch a fingernail in on the crown, or if you notice efflorescence, rust streaks, or damp patches on the chimney breast. Call if the damper won’t seat, if the firebox has cracked or crumbling panels, or if you’ve had any chimney fire, however small. Call before the burning season starts, and call if you’ve never had a camera inspection. And call if a repair was recommended by someone who couldn’t show you the evidence.
Chimney Sweep Elgin offers free estimates in Elgin. Our technicians have up to 11 years of experience and handle the sweep, the inspection, and the repair in one place. Call (877) 382-6902. We answer 24/7. Fast dispatch from 7am to 7pm, Sunday through Friday.
Frequently Asked Questions
Annual sweeping is the baseline for a wood-burning fireplace or stove in Elgin, and more often if you burn heavily or see stage-two creosote during your checks. Gas fireplaces should be inspected every one to two years, pellet inserts should be swept once a season for regular users, and oil furnace flues should be inspected annually. Call (877) 382-6902 for an exact quote – estimates are free.
Yes, you can identify stage-one and stage-two creosote from the firebox using a bright flashlight and a small mirror, without reaching up the flue. Stage-one looks like dry, powdery soot and brushes off; stage-two is darker, flaky, and crusty and doesn’t brush free easily. If you see stage-two, book a sweep – and if you see shiny, glazed tar-like creosote, that’s stage three and needs a professional. Call (877) 382-6902 to schedule an inspection.
It depends on the condition of the existing liner, and the only way to know is a camera inspection. HeatShield is a professional-grade restoration system applied to a structurally sound but cracked or gapped clay liner; when the liner is badly displaced or severely spalled, a full reline with DuraFlex or Olympia Chimney systems is the correct repair. Ask to see the camera footage before you decide. Call (877) 382-6902 for a free estimate.
Skipping maintenance allows creosote to accumulate in the flue, which increases the risk of a chimney fire, and lets small crown and liner defects grow through Elgin’s freeze-thaw winters until they become water damage and containment failures. The worst outcomes are fire and carbon monoxide intrusion, and both start as problems a routine check would have caught. Call (877) 382-6902 before the next burning season.
White chalky staining on brick is efflorescence, a sign that water is moving through the masonry from behind. In Elgin it most often traces to a crown or cap defect that lets water in, and it usually appears alongside rust streaks or damp patches on the chimney breast. It’s a water-entry sign, not a cosmetic one, and it’s worth an inspection. Call (877) 382-6902 – estimates are free.
Yes. A gas fireplace produces no wood creosote but still produces moisture and corrosive condensate, and the flue and vent can deteriorate or fail without the visible soot that would tip you off with a wood fire. Inspect every one to two years, and annually if the fireplace shares a flue path. Call (877) 382-6902 to book an inspection in Elgin.
The Bottom Line
The value of a chimney checklist isn’t the list – it’s knowing what each item should look like and what the failure signs are. You now have that for all seven components: a tight firebox, a seated damper, a clear smoke shelf, smooth smoke chamber walls, a continuous liner, a sloped and sealed crown, and an intact screened cap. You know how to read stage-one and stage-two creosote from the damper without touching the flue, why Elgin’s frost cycle makes the crown the priority check, and why a liner crack means HeatShield or a DuraFlex or Olympia Chimney reline rather than a patch. Match your service interval to your fuel, follow the seasonal calendar, and keep the records. That’s a maintenance plan that holds up.
When you’re ready to have a trained eye confirm what you’ve found, Chimney Sweep Elgin handles the sweep, the inspection, and the repair with trade materials from DuraFlex, HeatShield, Gelco, Olympia Chimney, Famco and Copperfield. We serve homeowners throughout Elgin and the surrounding area. Call (877) 382-6902 for a free estimate. We answer 24/7. Fast dispatch from 7am to 7pm, Sunday through Friday, closed Saturday.
Written by the team at Chimney Sweep Elgin.