
Last updated November 16, 2026
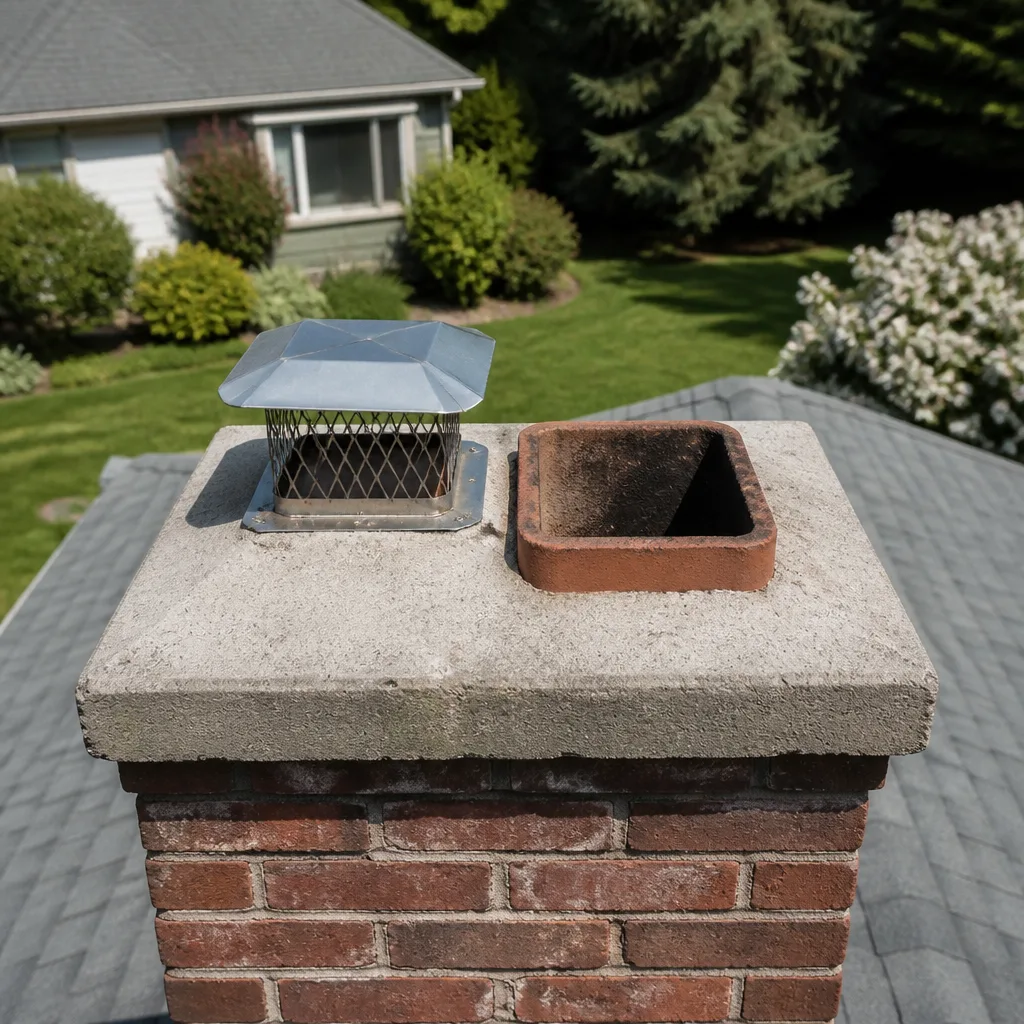 Sweep & inspection
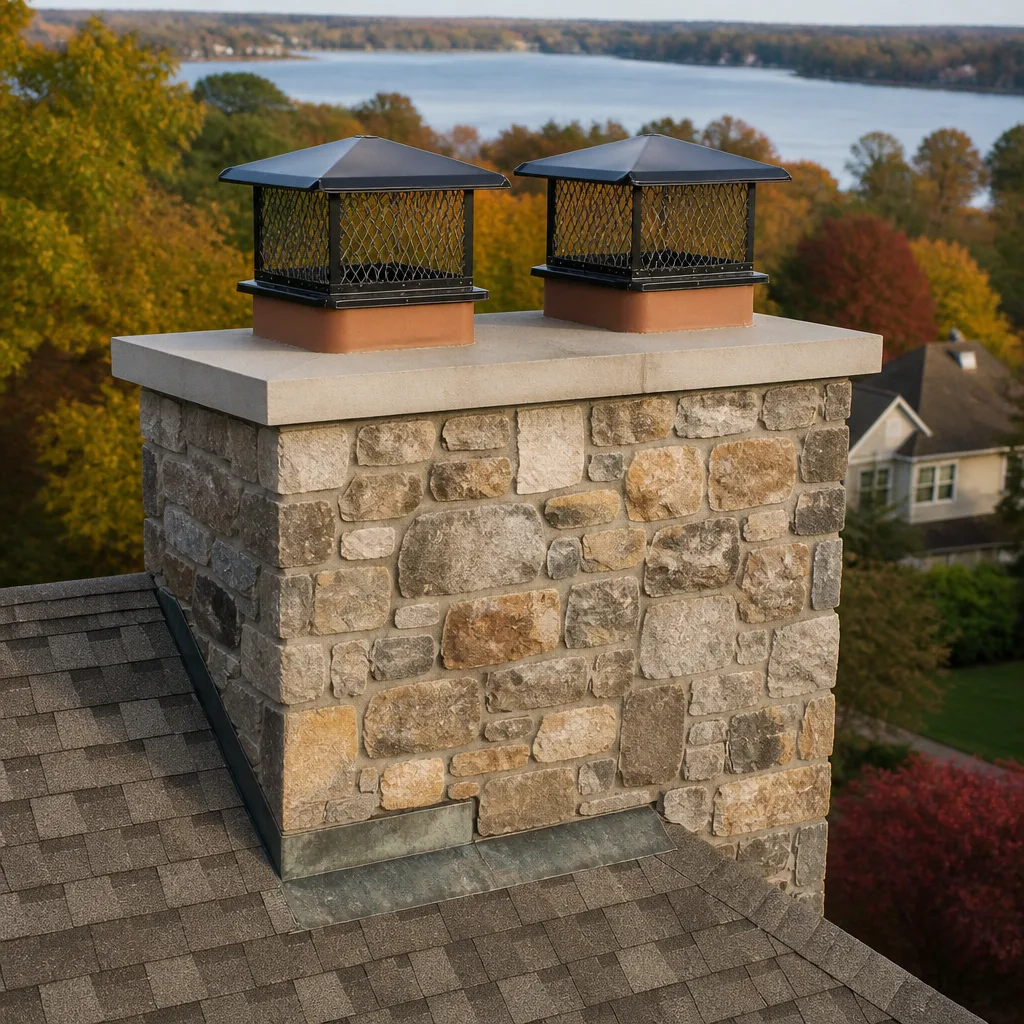 Caps & crowns
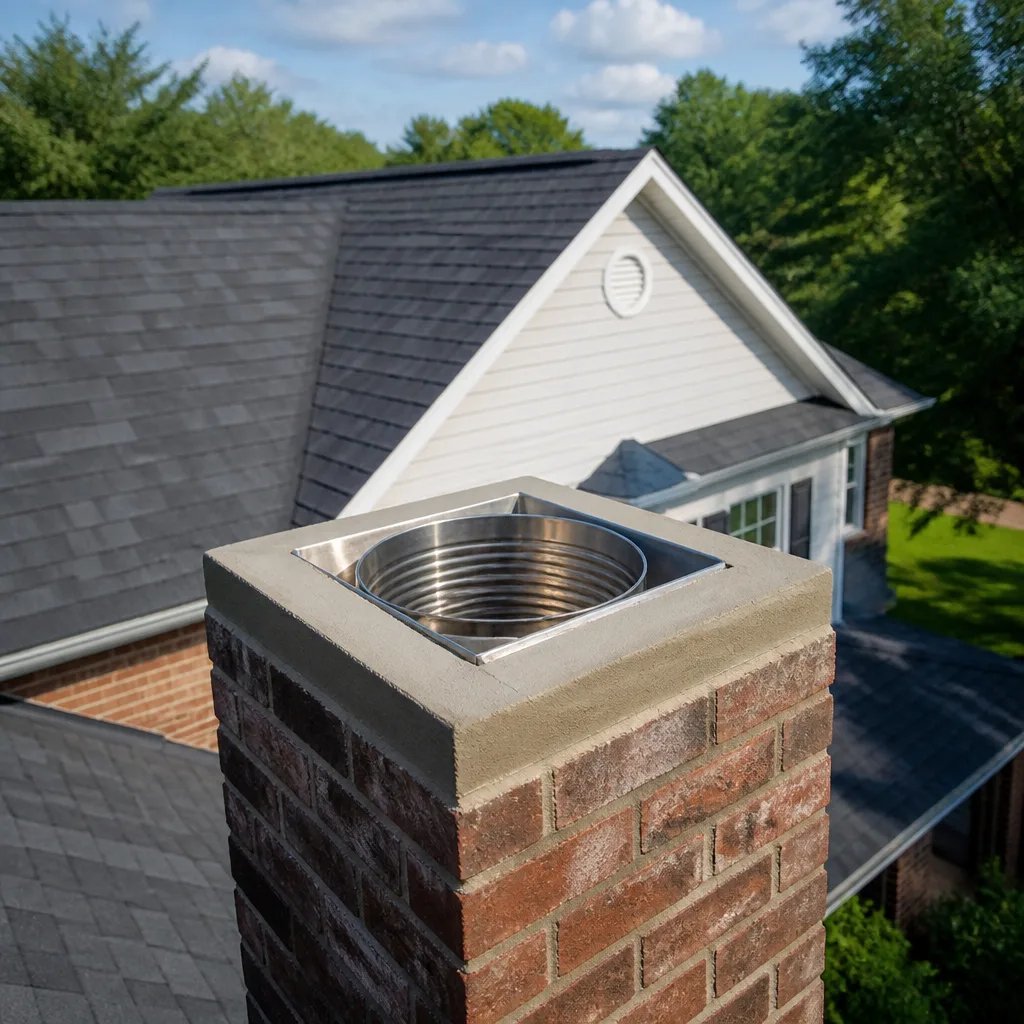 Flue relining
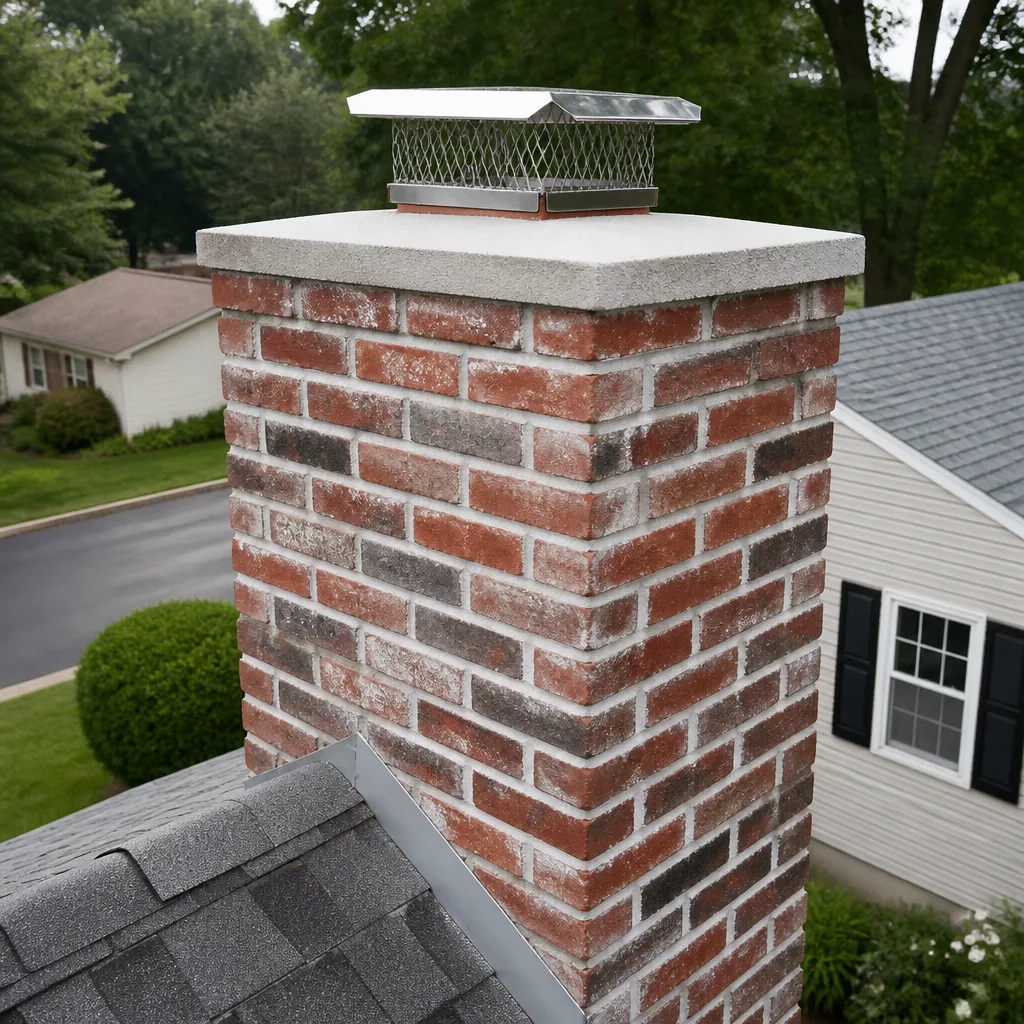 Masonry repair
 Gas fireplace service
Level 1 sweep and inspection to the NFPA 211 annual standard - flue, crown, cap, and flashing checked and photographed
Chimney sweep logs do not sweep chimneys. They loosen some creosote - which then falls where a brush and vacuum still have to collect it.
DIY vs Professional Chimney Cleaning: The Elgin Homeowner’s Decision Guide
A chimney brush kit from a hardware store will remove light creosote from the accessible flue section. It won’t reach the smoke shelf, can’t assess a liner crack behind soot, and gives you no information about whether what you removed was stage one or stage two deposit. That gap – between what a brush touches and what a chimney actually needs – is the whole debate. Most homeowners in Elgin aren’t asking whether they’re capable of pushing a brush down a flue. They’re asking where their reach ends and a professional’s begins. This guide draws that line precisely: what DIY can accomplish on a real chimney, what it can’t, and how to know which situation you’re in before you buy a brush or book a sweep.
Quick Answer
DIY chimney cleaning can realistically remove stage-one creosote from a straight, single-flue wood chimney using top access – and that’s roughly where the useful work stops. The smoke chamber, offset sections, and any liner condition assessment need rotary equipment, a HEPA-rated vacuum, and a video inspection camera that consumer tools don’t replicate. For wood-burning chimneys with older clay tile liners and no recent professional inspection, DIY cleaning alone leaves critical surfaces untouched and undocumented.
Styles & brands we work with
- Sweep & inspection
- Caps & crowns
- Flue relining
- Masonry repair
- Gas fireplace service
Table of Contents
- What DIY Chimney Cleaning Can Actually Accomplish
- The Smoke Chamber: The Critical Surface No Brush Kit Reaches
- The Equipment Gap: What Professionals Use That You Can’t Buy at a Hardware Store
- Creosote Stages Explained: What You’re Actually Removing
- Liability and Insurance: Why Documentation Matters After a Chimney Fire
- When DIY Is Reasonable (And When It Creates Risk)
- What a Professional Chimney Sweep in Elgin Involves
- Elgin-Specific Considerations
What DIY Chimney Cleaning Can Actually Accomplish
The honest answer is narrower than most brush-kit packaging suggests. DIY chimney cleaning is viable on one specific configuration: a straight, single-flue wood-burning chimney with top access from the roof, and only when the deposit is light.
Here’s what a homeowner with a consumer brush kit can realistically do:
- Remove stage-one creosote – the powdery, flaky, soot-like deposit that builds up after a few cords of seasoned wood. It comes off relatively easily with a brush of the correct diameter.
- Clean the accessible flue section – the vertical run between the firebox damper and the top of the chimney, provided it’s genuinely straight with no offsets.
- Sweep the firebox and damper area – the surfaces you can see and reach from inside the house.
That’s the full scope. What that list excludes matters more than what it includes. A consumer brush kit doesn’t reach:
- The smoke chamber, which sits directly above the damper and is the most critical cleaning surface in the entire system (covered in the next section)
- Any flue offset, corbel, or angled transition within the chimney
- The flue tile joints, where cracks and gaps develop over time and where a camera is required to see them
- The chimney cap and crown, where damage allows water and animals in
- Any liner condition assessment whatsoever
So DIY isn’t worthless – it’s partial. On a straight single-flue chimney with light deposit, a homeowner sweeping from the roof does remove real creosote. The problem is everything downstream of that deposit, which stays uninspected and unassessed. That’s the fact that reframes the whole DIY question. Our technicians have up to 11 years of experience, and every one of them will tell you the same thing: the boundary isn’t whether the homeowner can sweep, it’s whether they can diagnose what they’re looking at.
The Smoke Chamber: The Critical Surface No Brush Kit Reaches
The smoke chamber is the tapered section between the damper and the first flue tile. It’s shaped like an upside-down funnel, and it’s where creosote accumulates faster than anywhere else in the system because the gases slow down and cool as they pass through. It’s also the surface that no consumer brush kit is designed to clean.
Why the smoke chamber matters so much:
- It’s a fire chamber surface. Creosote deposit on the smoke chamber walls sits directly above the fire and is exposed to the highest sustained heat in the system.
- It accumulates in corbelled or angled geometry. The smoke chamber walls are stepped or sloped inward in most masonry chimneys. A round or square flue brush passes straight through the middle of that taper and touches almost none of the surface.
- It’s where parging fails. Smoke chamber walls are finished with a parging coat – a smooth mortar layer – that protects the masonry behind it. Years of hot gases, creosote acid, and thermal cycling cause that parging to crack, spall, and fall away. Once it’s gone, raw masonry is exposed to the same conditions, and the rough surface catches creosote deposits that a brush can’t dislodge.
This is the failure pathway that follows years of DIY-only service. A homeowner sweeps the accessible flue faithfully every year, feels confident the chimney is clean, and never sees the smoke chamber parging flaking off above the damper – because you need to be inside the firebox with a light and a camera to see it, not standing on the roof with a brush.
Professional smoke chamber work involves rotary cleaning equipment designed to follow the chamber’s geometry, plus a camera inspection to assess the parging condition. When the parging has failed, restoration is a repair decision: HeatShield is a professional-grade refractory resurfacing system designed specifically for the smoke chamber and flue. It’s not a product you’ll find at a general hardware retailer. The fact that it exists – and that it’s often an alternative to full liner replacement – is exactly the kind of information no DIY guide can give you because no DIY tool can reveal whether you need it.
The Equipment Gap: What Professionals Use That You Can’t Buy at a Hardware Store
The equipment difference between DIY and professional chimney cleaning isn’t about brand names on tools. It’s about three capabilities that consumer tools simply cannot replicate. Those three capabilities are what turn a sweep from a cleaning job into a diagnostic service.
1. HEPA-Rated Vacuum Containment
The single biggest practical problem with DIY chimney cleaning is what happens to the dust. Creosote and soot contain fine particulates that ingest easily and linger in a home’s air. A shop vac with a household filter captures some of it and redistributes the rest. A professional HEPA-rated vacuum with a sealed, purpose-built chimney containment system keeps the dust out of the living space entirely. On a through-the-fireplace cleaning, that containment is the difference between a clean room and a room that needs a second cleaning after the chimney is done.
2. Rotary Cleaning Systems
Rotary cleaning uses a motorized spinning whip or chain that follows the geometry of the flue and the smoke chamber, breaking up glazed and compacted deposits that a hand-pushed brush leaves behind. Stage-two creosote – the bubbly, hardened, tar-like deposit – responds to rotary action and largely resists a static brush. If the deposit is stage two, the consumer brush is removing the soft layer and leaving the dangerous layer.
3. Video Inspection Cameras
This is the capability that reframes the whole question. A video inspection camera shows the homeowner the interior of the flue, the tile joints, the smoke chamber, and the liner from the inside – in real time, on a screen. That matters because the real hesitation most homeowners have about chimney work is being told they need thousands in liner or masonry repair they have no way to verify.
A professional service documents what it finds, shows you the footage, and lets you see the evidence for yourself. DIY cleaning, by definition, produces no inspection record – and the record is what most of the downstream decisions depend on.
Creosote Stages Explained: What You’re Actually Removing
Creosote forms in three distinct stages, and knowing which stage is in your flue changes what “cleaning” means. This is the technical distinction most DIY guides skip, and it’s the one that separates a maintenance sweep from a risk assessment.
Stage One: Flaky, Powdery Soot
A black, dry, flaky deposit that brushes off relatively easily. It forms on chimneys burned cold, with wet or unseasoned wood, or with restricted air supply. A consumer brush kit removes the vast majority of stage-one creosote from an accessible straight flue. This is the only stage where the DIY scenario genuinely holds up.
Stage Two: Bubbly, Hardened, Tar-Like Deposit
A crusty, blistered layer that has hardened onto the flue surface and resists a static brush. It forms when gases cool enough to condense and bake onto the liner. Stage two responds to rotary cleaning equipment; it often requires the surface to be worked with the correct equipment and, in severe cases, may not come off at all without professional-grade removal or liner restoration. A homeowner standing on a roof with a brush will remove the loose layer and leave the dangerously combustible layer in place – and may conclude the chimney is clean.
Stage Three: Glazed, Glassy, Hardened Fuel
The most severe stage – a dense, glazed deposit that can be as hard as the tile beneath it and requires rotary equipment with a metal whip and, in severe cases, liner restoration. Stage three can’t be brushed off. When stage three is present, the question shifts from “how do I clean this?” to “is the liner sound enough to keep, or does it need relining?” That’s a decision that requires a camera inspection and a professional who has liners on the shelf – DuraFlex or Olympia Chimney liner systems, for example – not a brush.
The practical takeaway: DIY cleaning is a competent stage-one tool and nothing more. If you don’t know which stage you’re dealing with before you start, DIY doesn’t just risk leaving deposit behind – it risks masking the problem. A homeowner who sweeps the accessible flue, removes what brushes off, and assumes the chimney is clean has no way of knowing whether stage two or stage three deposit remains above the smoke shelf.
Liability and Insurance: Why Documentation Matters After a Chimney Fire
This is the part of the DIY question most homeowners haven’t considered. The insurance implications of a chimney fire following DIY cleaning are specific, and they turn on documentation.
When a chimney fire happens, an insurer’s investigation tends to ask two questions: what caused the fire, and what does the maintenance record show? A professional chimney inspection produces a written record with video evidence – the date of the inspection, the deposit stage found, the liner condition, and any findings. That record is a documented maintenance history. A homeowner who has swept their own chimney for a few years has no equivalent record. It’s not that DIY cleaning voids coverage categorically – that’s a fact an insurance company would state, not us – but a homeowner without any inspection document is in a weaker position to demonstrate the chimney was maintained as required by their policy. Chimney maintenance requirements are commonly written into homeowners’ policies, and whether the record exists can become part of the claim review.
The practical point is this: a professional sweep produces a paper trail. A DIY cleaning produces a clean flue surface and no record of what was found or not found. If the goal is to have a defensible maintenance history, the documentation is as much the product as the cleaning. It also gives you something the DIY route cannot: a professional second opinion on whether the deposit you removed suggested a liner problem worth investigating before the next burning season.
When DIY Is Reasonable (And When It Creates Risk)
There is a real scenario where DIY cleaning is reasonable, and being honest about it builds trust. The scenario requires all of the following to be true at once:
- The chimney is lightly used. A few fires a season, not a primary heat source.
- The deposit is clearly stage one. Light, dry, flaky soot – not bubbly or hardened. If you’re unsure, you’re not in this scenario.
- The liner and smoke chamber are in known-good condition because a professional inspection has already confirmed it.
- The chimney is a straight, single-flue run with no offsets or corbelled sections.
- A professional inspection and sweep is still on the schedule – annually, before the burning season. DIY in this scenario is an interim tidy-up between scheduled professional visits, not a substitute for them.
A vacation home with a gas insert and light use, where a professional service already confirmed the system is sound and still handles the annual inspection, fits this profile. So does a straight-flue wood chimney where the deposit is consistently light and a professional sweep is scheduled for the fall anyway.
Where DIY creates real risk:
- Any wood-burning chimney that is a primary heat source. Sustained heat and heavy use build stage-two deposit fast, and the smoke chamber becomes a loaded surface.
- Any chimney with an older clay tile liner. Clay tile cracks with thermal cycling and age. A cracked tile behind soot is invisible to a homeowner on the roof – and a liner gap is a path for fire and carbon monoxide into the house.
- Any chimney with no recent professional inspection. If you don’t know what condition the liner and smoke chamber are in, you can’t know what your DIY cleaning is missing.
Safety First: What Not to Attempt
Chimney work involves height, confined space, and combustible deposit that ignites at relatively low temperatures. Never attempt to clean a flue with a roaring fire below it, never use a flammable solvent or chemical accelerant to “loosen” deposit, and never get onto a roof without the right fall protection. If the deposit is bubbly or glazed – stage two or three – the removal task requires rotary equipment and, in severe cases, liner restoration, and that’s a trained-professional job. Never attempt to reline or patch a flue tile yourself. If a liner crack or smoke chamber parging failure is found, that’s a repair decision for a professional.
What a Professional Chimney Sweep in Elgin Involves
A professional chimney sweep is a different service from a DIY sweep in scope, not just in equipment. The service includes the cleaning and the diagnosis, and the two are done together so the findings don’t get lost. A full professional sweep typically covers:
- Setup and containment – drop cloths and a HEPA-rated vacuum system so no dust enters the home.
- Cleaning the firebox and damper area – the surfaces a homeowner can see, cleaned thoroughly.
- Cleaning the accessible flue section – the straight run, using the correct brush or rotary whip for the flue geometry.
- Cleaning the smoke chamber – the critical surface, addressed with rotary equipment matched to the chamber’s corbelled shape.
- Video inspection – footage of the flue, tile joints, liner, and smoke chamber, with findings shown to the homeowner.
- Cap and crown check – assessing whether weather and animals can get in, and whether a cap replacement is warranted.
- Written report and photos – documenting what was found, what was cleaned, and what (if anything) needs repair.
Elgin sits in a climate with real winter, which means most Elgin chimneys run hard through the colder months and then sit unused. That seasonal pattern produces a lot of stage-two deposit by spring, and it’s exactly the pattern that makes annual professional service worth scheduling before the burning season rather than after it. A DIY sweep in this climate, done without a camera inspection, has no way of distinguishing a clean flue tile from a hairline crack that opened over one cold winter. You can chimney sweep the accessible section yourself, but the inspection result only exists if a professional with a camera produced it.
Elgin-Specific Considerations
Chimney work in Elgin runs into a few local conditions that don’t come up everywhere. Homes across older Elgin neighborhoods have a mix of masonry chimneys, many with the original clay tile liners, and the area’s climate – real winters, active freeze-thaw cycles – puts those liners through thermal cycling that accelerates cracking. When a homeowner on the roof with a brush looks into a flue that seems fine, the question a professional camera answers is whether the tile joints hold. In Elgin, they often don’t.
The home heating mix matters too. Many Elgin homeowners use a fireplace or insert as a meaningful heat source through the winter, not just for ambience. That changes the deposit profile: sustained, high-output burning produces harder creosote faster than occasional fires do. The DIY scenario that works for a lightly used vacation chimney doesn’t fit an Elgin home where the fireplace runs through January.
Elgin’s seasonal timing also gives homeowners a useful calendar cue. The best window for a professional sweep is before the burning season starts, not after. A fall sweep finds what last winter left behind and gives you time to address liner or smoke chamber issues before you light the first fire. For a chimney repair that follows the sweep, working ahead of the season means the repair is done with trade materials – Gelco or Famco chimney caps, a DuraFlex or Olympia Chimney relining if the liner needs it – before the first cold snap, not during it. If you’re in Elgin, scheduling the sweep before the season starts is the single most useful maintenance decision you can make.
Full-service scope matters here. A sweep-and-diagnose visit that uncovers a parging failure or a liner issue is followed up by the same company that found it, using materials the homeowner can look up by name. One company handles the sweep, the inspection, and the repair – no second contractor, no referral gap between what was found and what gets fixed. When you’re comparing services around Chimney Sweep Elgin, that single-company accountability for inspection findings is a real point of difference in a market where many sweeps are cleaning-only.
Common Mistakes to Avoid
- Sweeping a straight flue and assuming the chimney is clean. The smoke chamber above the damper is the critical surface and the one a consumer brush never touches. If you haven’t cleaned and inspected the smoke chamber, you haven’t cleaned the chimney.
- Using a shop vac as a chimney vacuum. A household shop vac redistributes fine soot particles into the home’s air. That’s why professional services use a HEPA-rated, sealed containment system.
- Cleaning without knowing the creosote stage. If the deposit is bubbly or glazed – stage two or three – a brush removes the soft layer and leaves the dangerous one. Sweep only when you already know it’s stage one.
- Skipping the inspection because you cleaned it yourself. The cleaning and the inspection are separate products. DIY cleaning produces a cleaner flue surface and no information about the liner, the tile joints, or the smoke chamber parging.
- Relying on Elgin’s seasonal pattern to clean for you. A cold Elgin winter builds deposit fast through the burning season. By spring a chimney that ran as a heat source all winter is generally not in the “light stage-one deposit” category that DIY handles well.
- Skipping the cap and crown. The top of the chimney needs weatherproofing and animal exclusion as much as the interior needs cleaning. A missing or damaged cap lets water and wildlife in, and neither problem shows up in a flue sweep.
- Cleaning and then relining a cracked tile by yourself. Liner replacement is a specialist repair – DuraFlex and Olympia Chimney liner systems are professionally specified products for a reason – and the smoke-chamber-level repair option, HeatShield restoration, is only available through a professional chimney service.
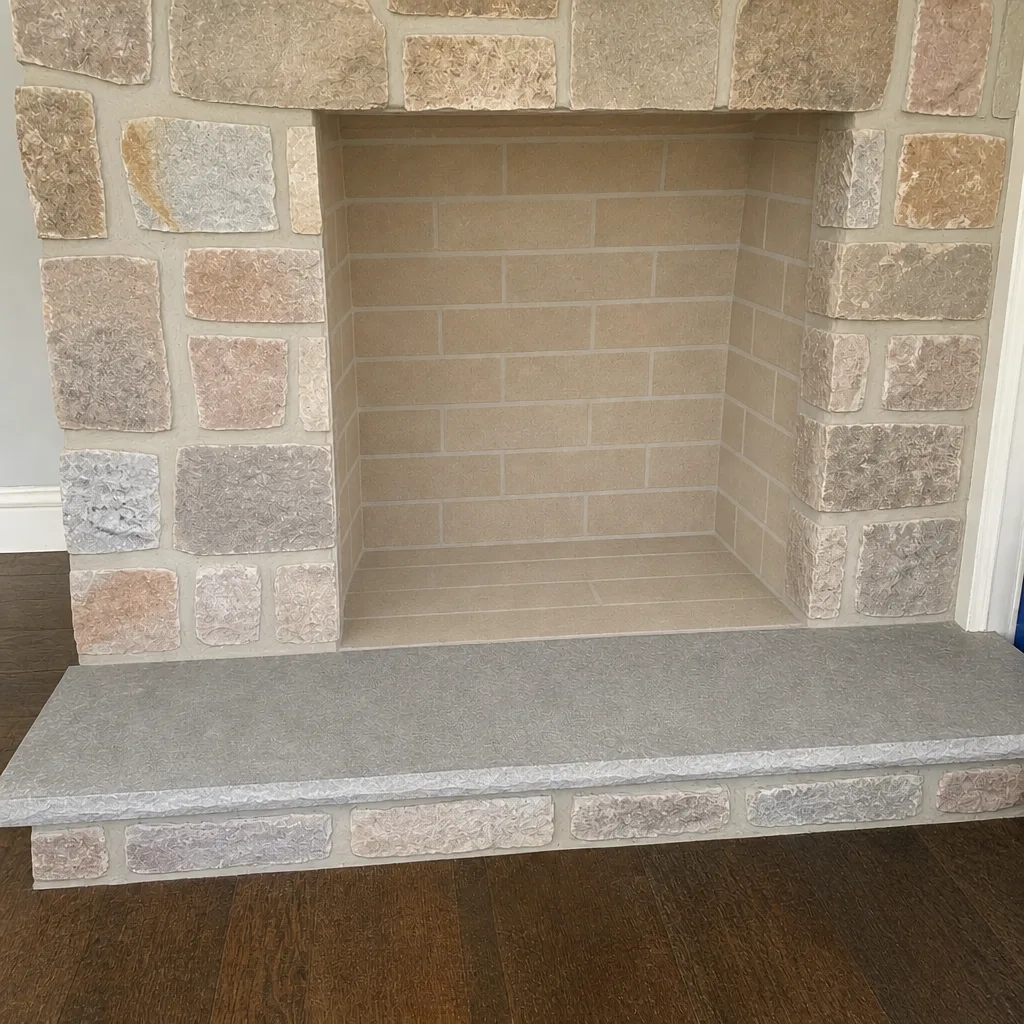
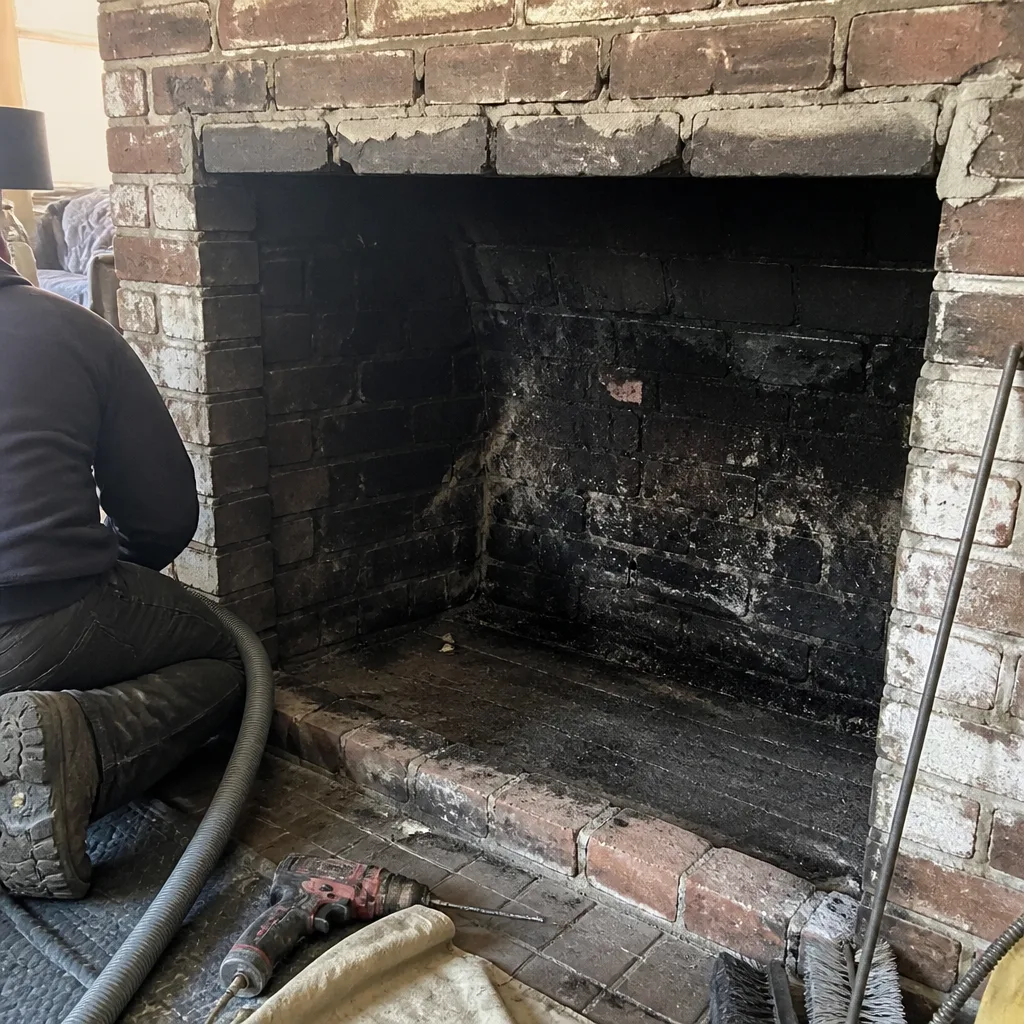
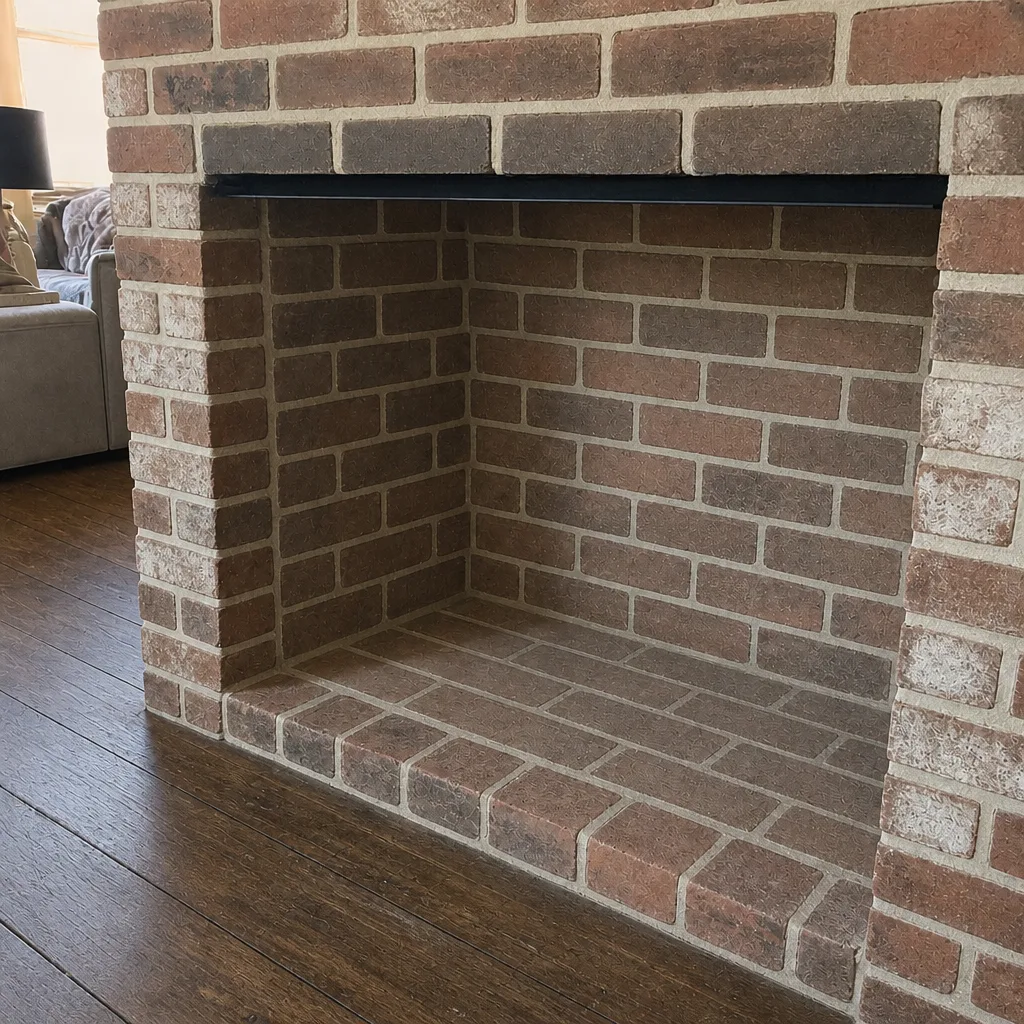
See the difference
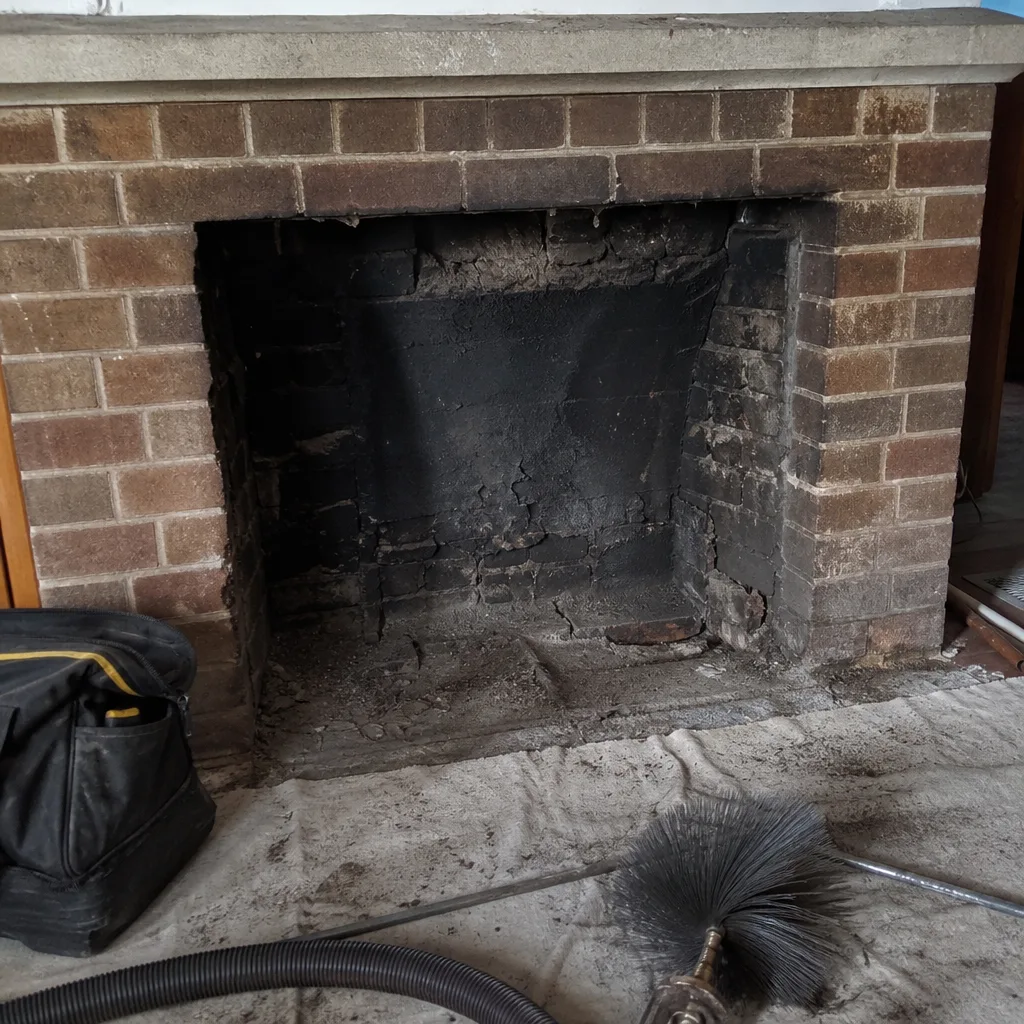 Before
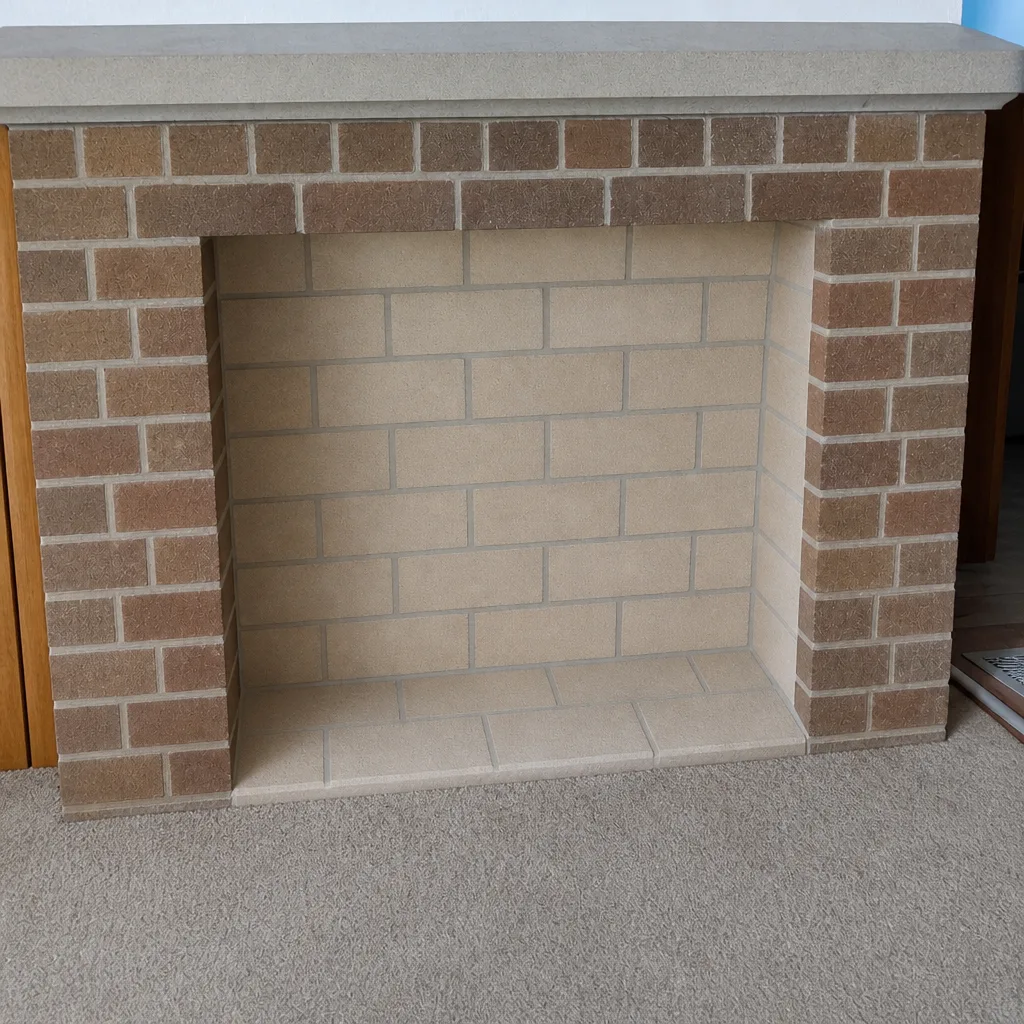 After
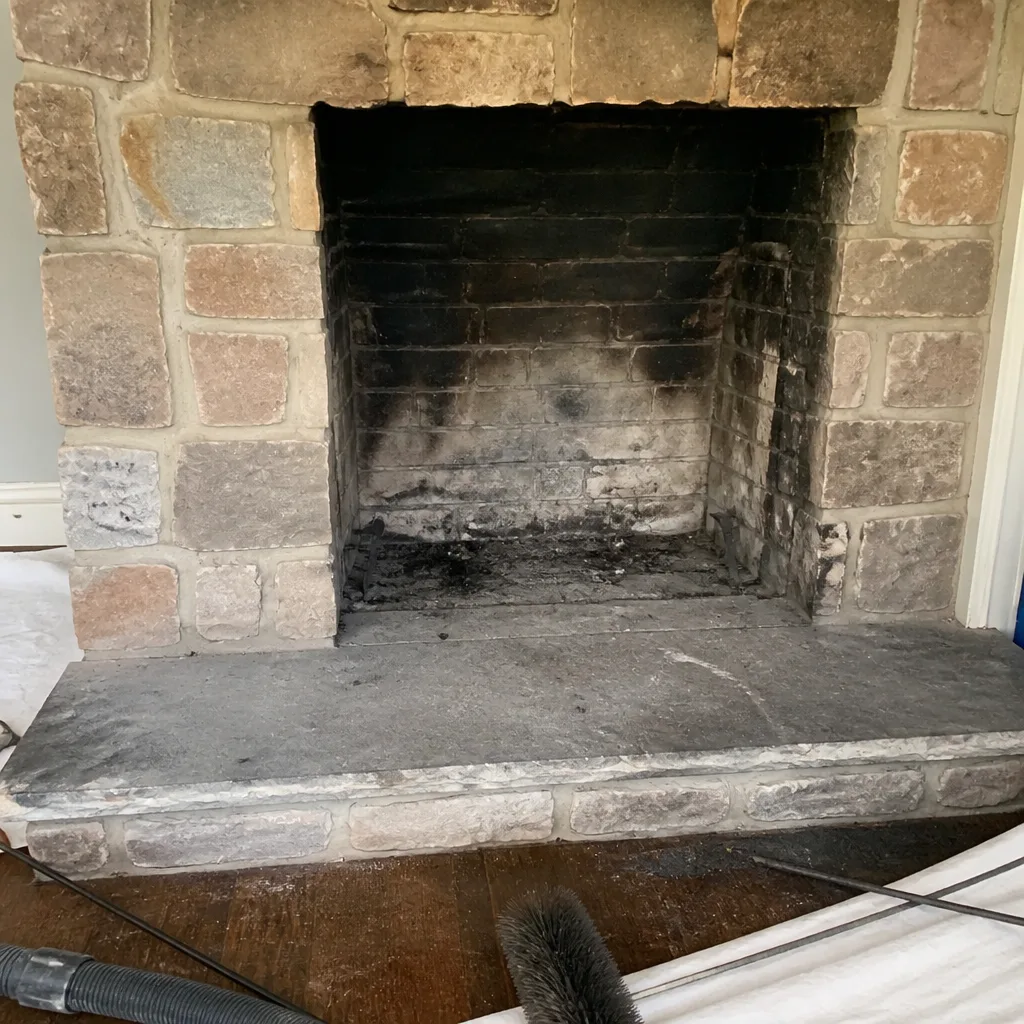 Before
 After
 Before
 After
When to Call a Professional
Call a professional chimney sweep when the chimney is a wood-burning primary heat source, when it has an older clay tile liner and no recent camera inspection, or when the deposit is bubbly, hardened, or glazed rather than powdery. Call when you’ve never had an inspection of the smoke chamber, or when it’s been more than a year since the last one. Call when you want the documentation an insurance claim may require. And call when a sweep has been scheduled anyway – booking the annual inspection before the Elgin burning season starts is the practical move. We document what we find, then fix it with materials you can look up. Chimney Sweep Elgin offers free estimates in Elgin – call (877) 382-6902.
Frequently Asked Questions
Yes, if the deposit is stage-one creosote on a straight, single-flue wood chimney with top access, and a professional inspection already confirmed the liner and smoke chamber are sound. You cannot clean the smoke chamber with a consumer brush kit, and you cannot inspect the liner without a camera, so DIY cleaning is a partial solution by definition. It’s reasonable as an interim tidy-up between professional visits, not as a replacement for them.
You can’t reliably know the stage from the roof. Stage one is dry and flaky and brushes off; stage two is bubbly and resists a brush; stage three is glazed and hard. If the deposit is bubbly or glazed, a static brush removes the loose layer and leaves the dangerous one in place – and a homeowner may conclude the chimney is clean when it isn’t. A professional rotary sweep with a camera inspection answers the stage question definitively. Call (877) 382-6902 for an assessment.
The smoke chamber is the tapered section between the damper and the first flue tile, and it’s where creosote accumulates fastest because gases slow and cool as they pass through it. It’s directly above the fire, so deposit there is exposed to the highest sustained heat in the system. It also has corbelled geometry that a straight brush passes right through without touching. A professional rotary system cleans it; a consumer brush kit cannot.
Annually, before the Elgin burning season starts, for any wood-burning chimney in regular use. If the fireplace or insert is a meaningful heat source through the winter, the deposit builds faster and the annual sweep is the baseline. A sweep-plus-inspection in the fall finds what last winter left behind and gives time to address liner or smoke chamber issues before the first fire. Call (877) 382-6902 to schedule before the season.
It can, because the insurance claim review after a chimney fire tends to turn on the maintenance record. A professional inspection produces a written report with video evidence of what was found and what was cleaned; a DIY sweep produces no equivalent record. Many policies require chimney maintenance, and whether the documentation exists can become part of the claim review. A professional sweep gives you the paper trail.
The accessible flue gets cleaner and the smoke chamber keeps accumulating. Years of DIY-only service leave the smoke chamber parging exposed to creosote acid and thermal cycling, and the parging can fail without any visible sign from the roof. The failure pathway leads to raw masonry and a surface that catches deposit a brush can’t dislodge. That’s when the repair scope changes from cleaning to restoration – which is why the inspection matters as much as the sweep.
A DIY sweep can’t tell you that. The repair questions – is the smoke chamber parging intact, are the flue tile joints sound, does the liner need relining – require a video inspection to answer. Our chimney repair service covers what the inspection finds, using HeatShield for smoke chamber restoration, DuraFlex or Olympia Chimney systems for relining, and Gelco or Famco caps for weatherproofing. Call (877) 382-6902 for a free estimate.
The Bottom Line
DIY chimney cleaning isn’t a capability question; it’s a scope question. A homeowner with a consumer brush kit can remove stage-one deposit from an accessible straight flue. That’s real work, and on the right chimney it’s fine as an interim tidy-up. What DIY cannot do is reach the smoke chamber, assess the liner, or produce the inspection record an insurance claim may need. In Elgin, where many chimneys run as heat sources through a real winter and many still carry original clay tile liners, that gap between what a brush reaches and what the chimney needs is exactly where the risk lives. Get the professional sweep on the schedule before the season, keep the inspection record, and use DIY only where you already know the chimney is sound.
Get an Estimate Before the Burning Season
We sweep, inspect, and repair chimneys with trade materials – HeatShield restoration, DuraFlex and Olympia Chimney liner systems, Gelco and Famco caps – and we document what we find before we recommend anything. Nothing is recommended without camera evidence you can see for yourself. Call (877) 382-6902 for a free estimate. We answer 24/7. Fast dispatch from 7am to 7pm, Sunday through Friday.
Written by the team at Chimney Sweep Elgin.